Setting up your Indoor Rower. Lets help get you started.
Depending on the make or model of indoor rowing machine you have access to, there are a few parts you can adjust to ensure the machine is set up appropriately for you.
Setting the machine up properly will make your workout more comfortable and allow you to row more efficiently, supporting good posture and technique.
Footrest
The footrest is where you place your feet. It will be adjustable on most machines and can move up or down.
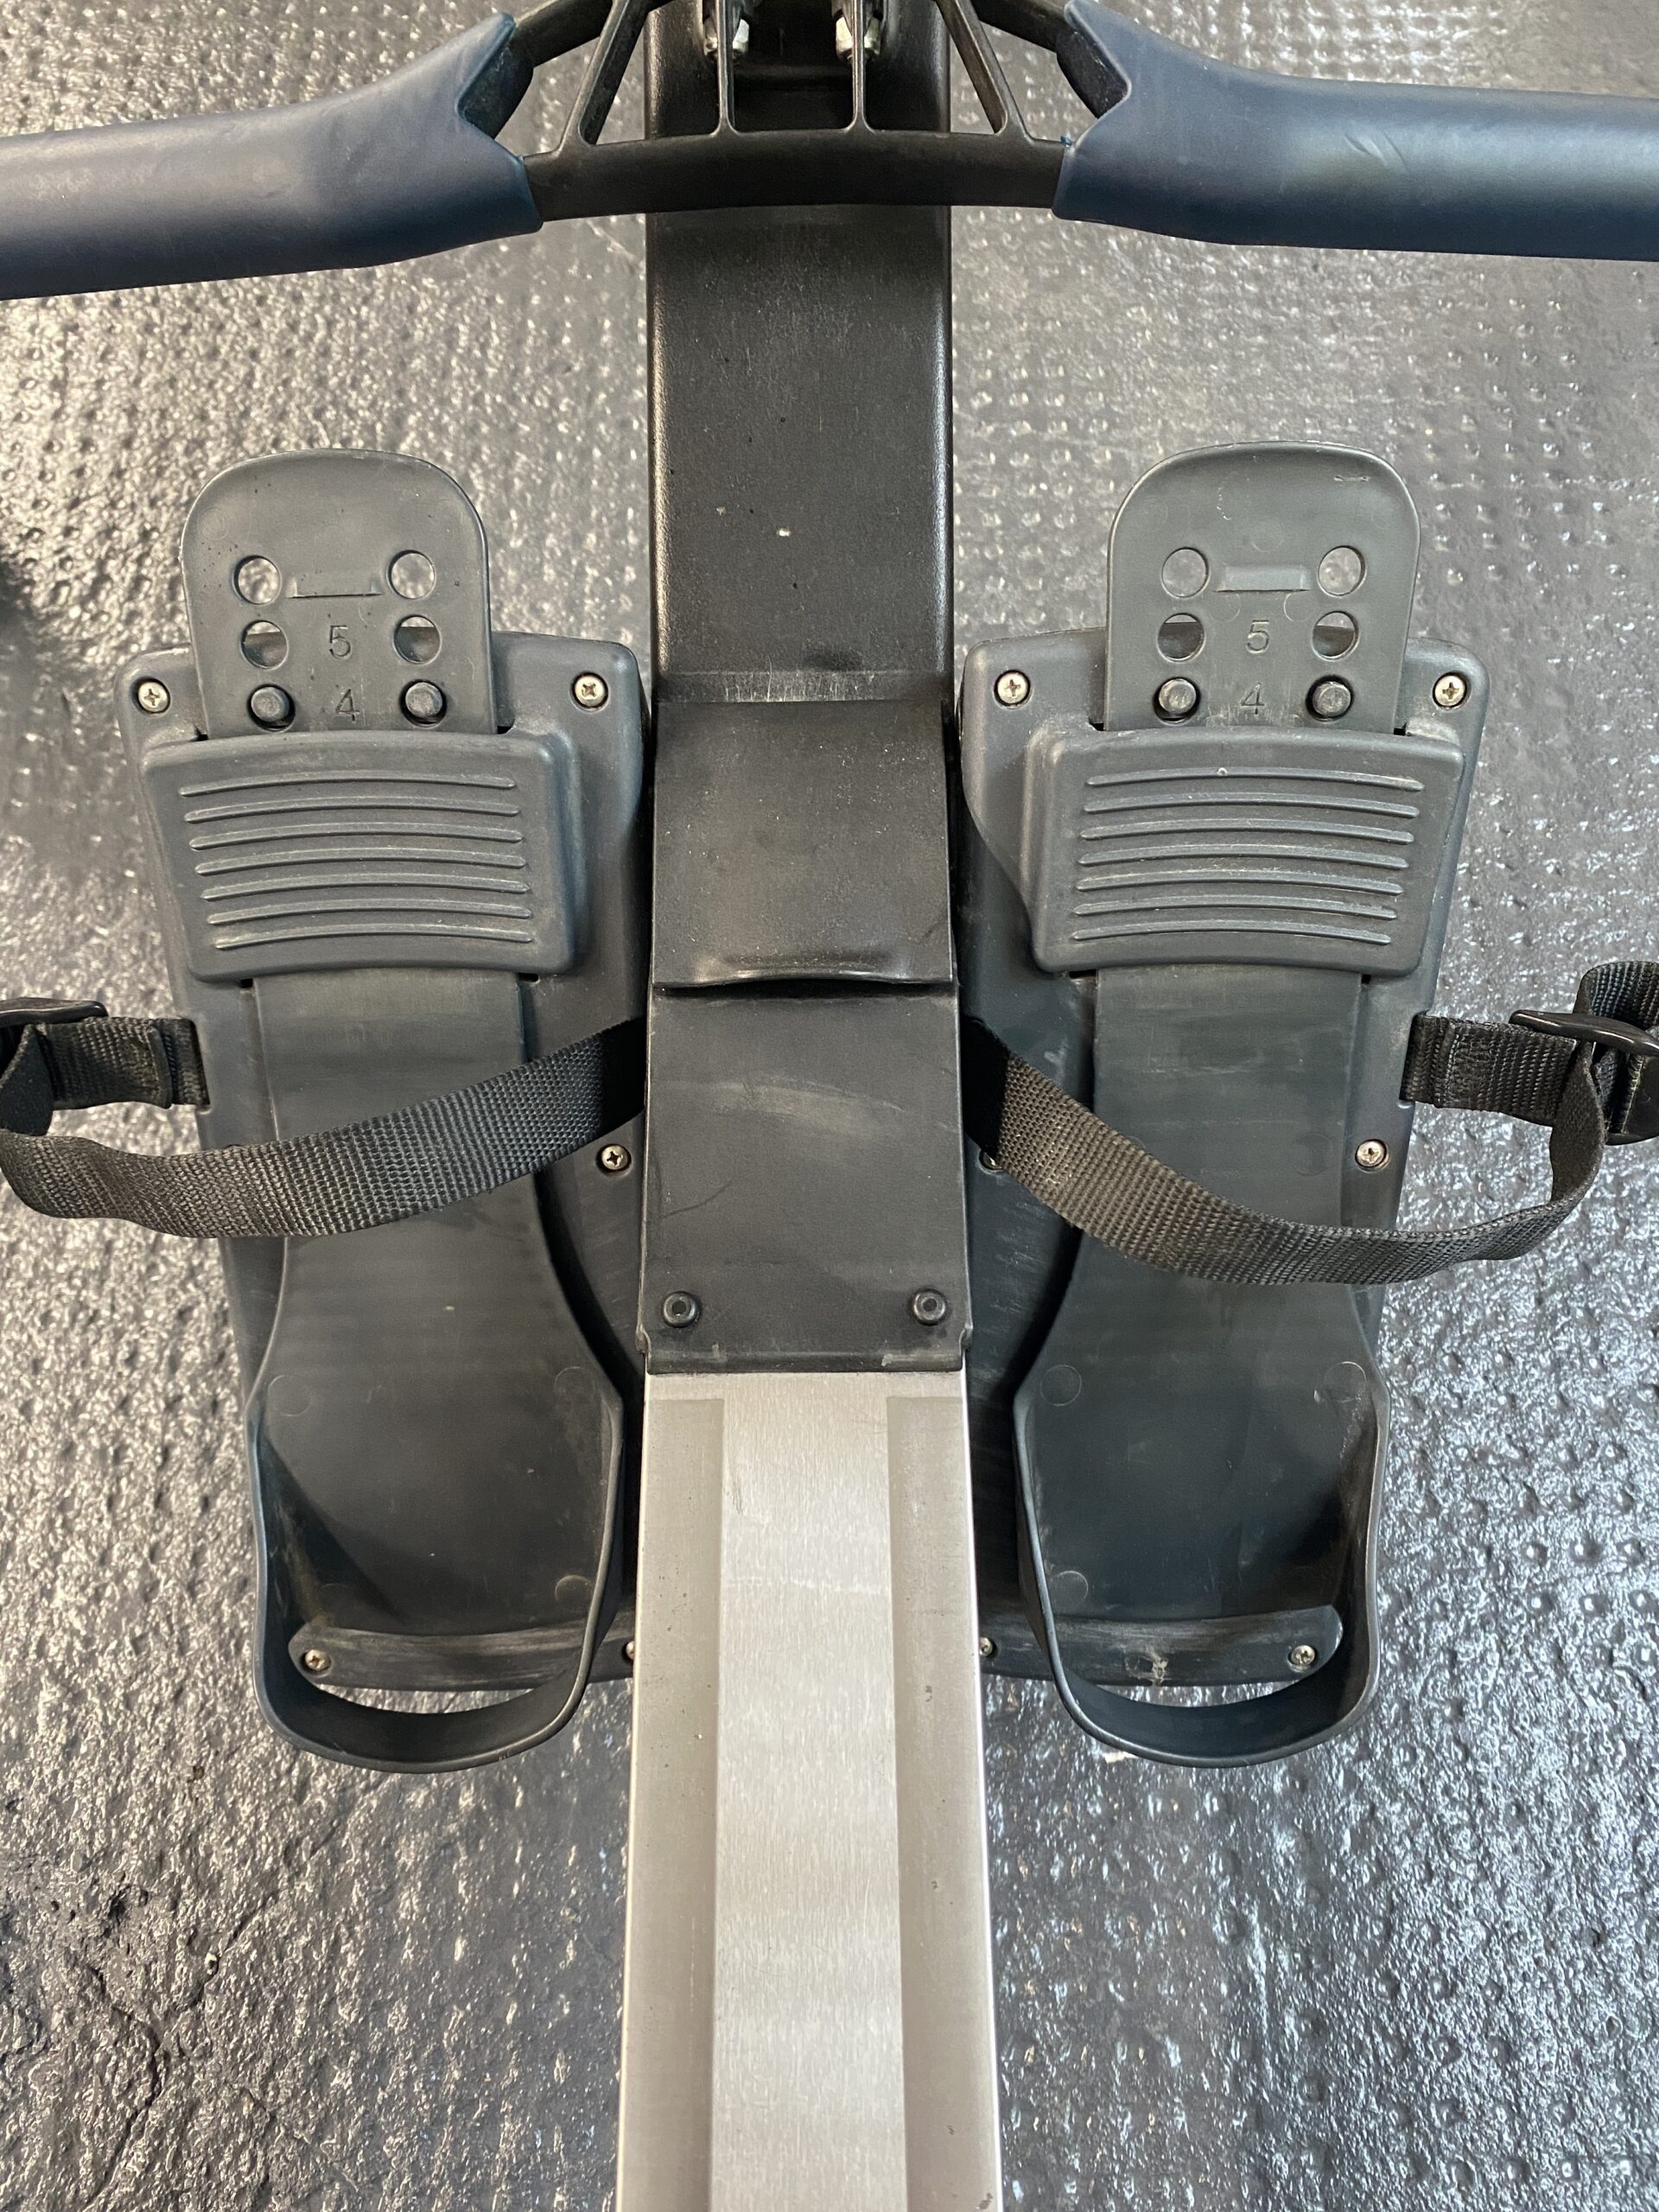
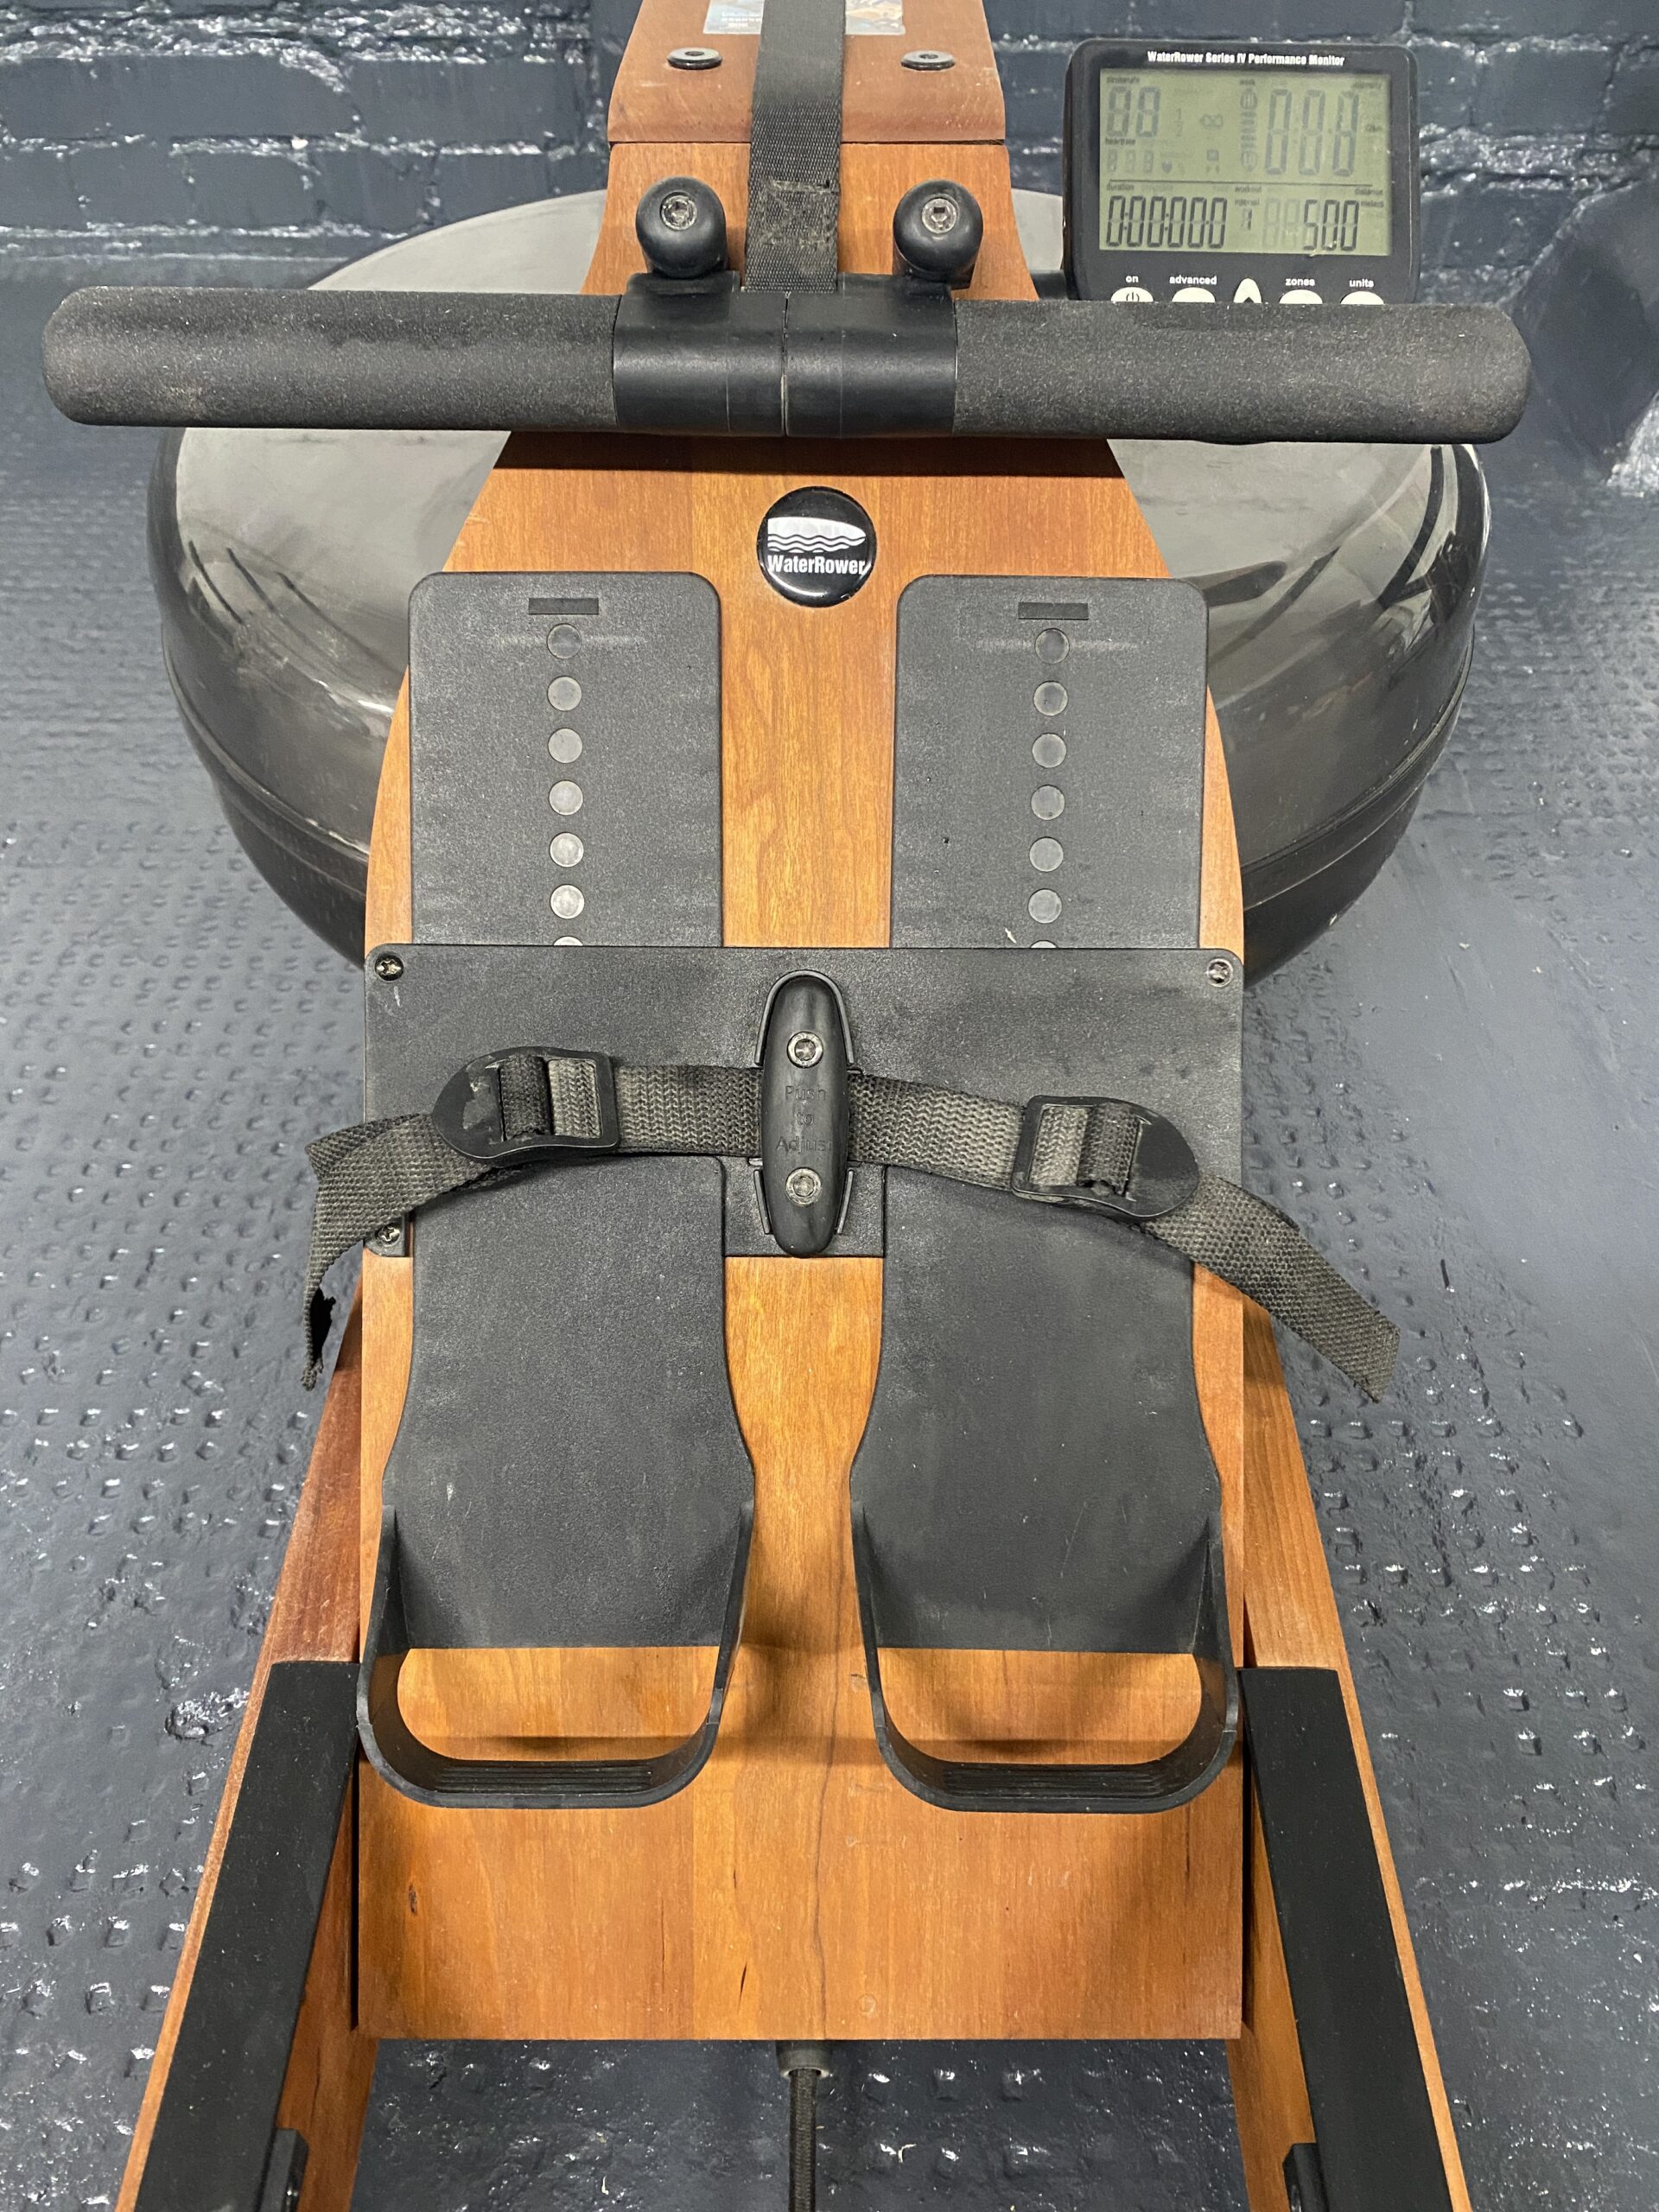
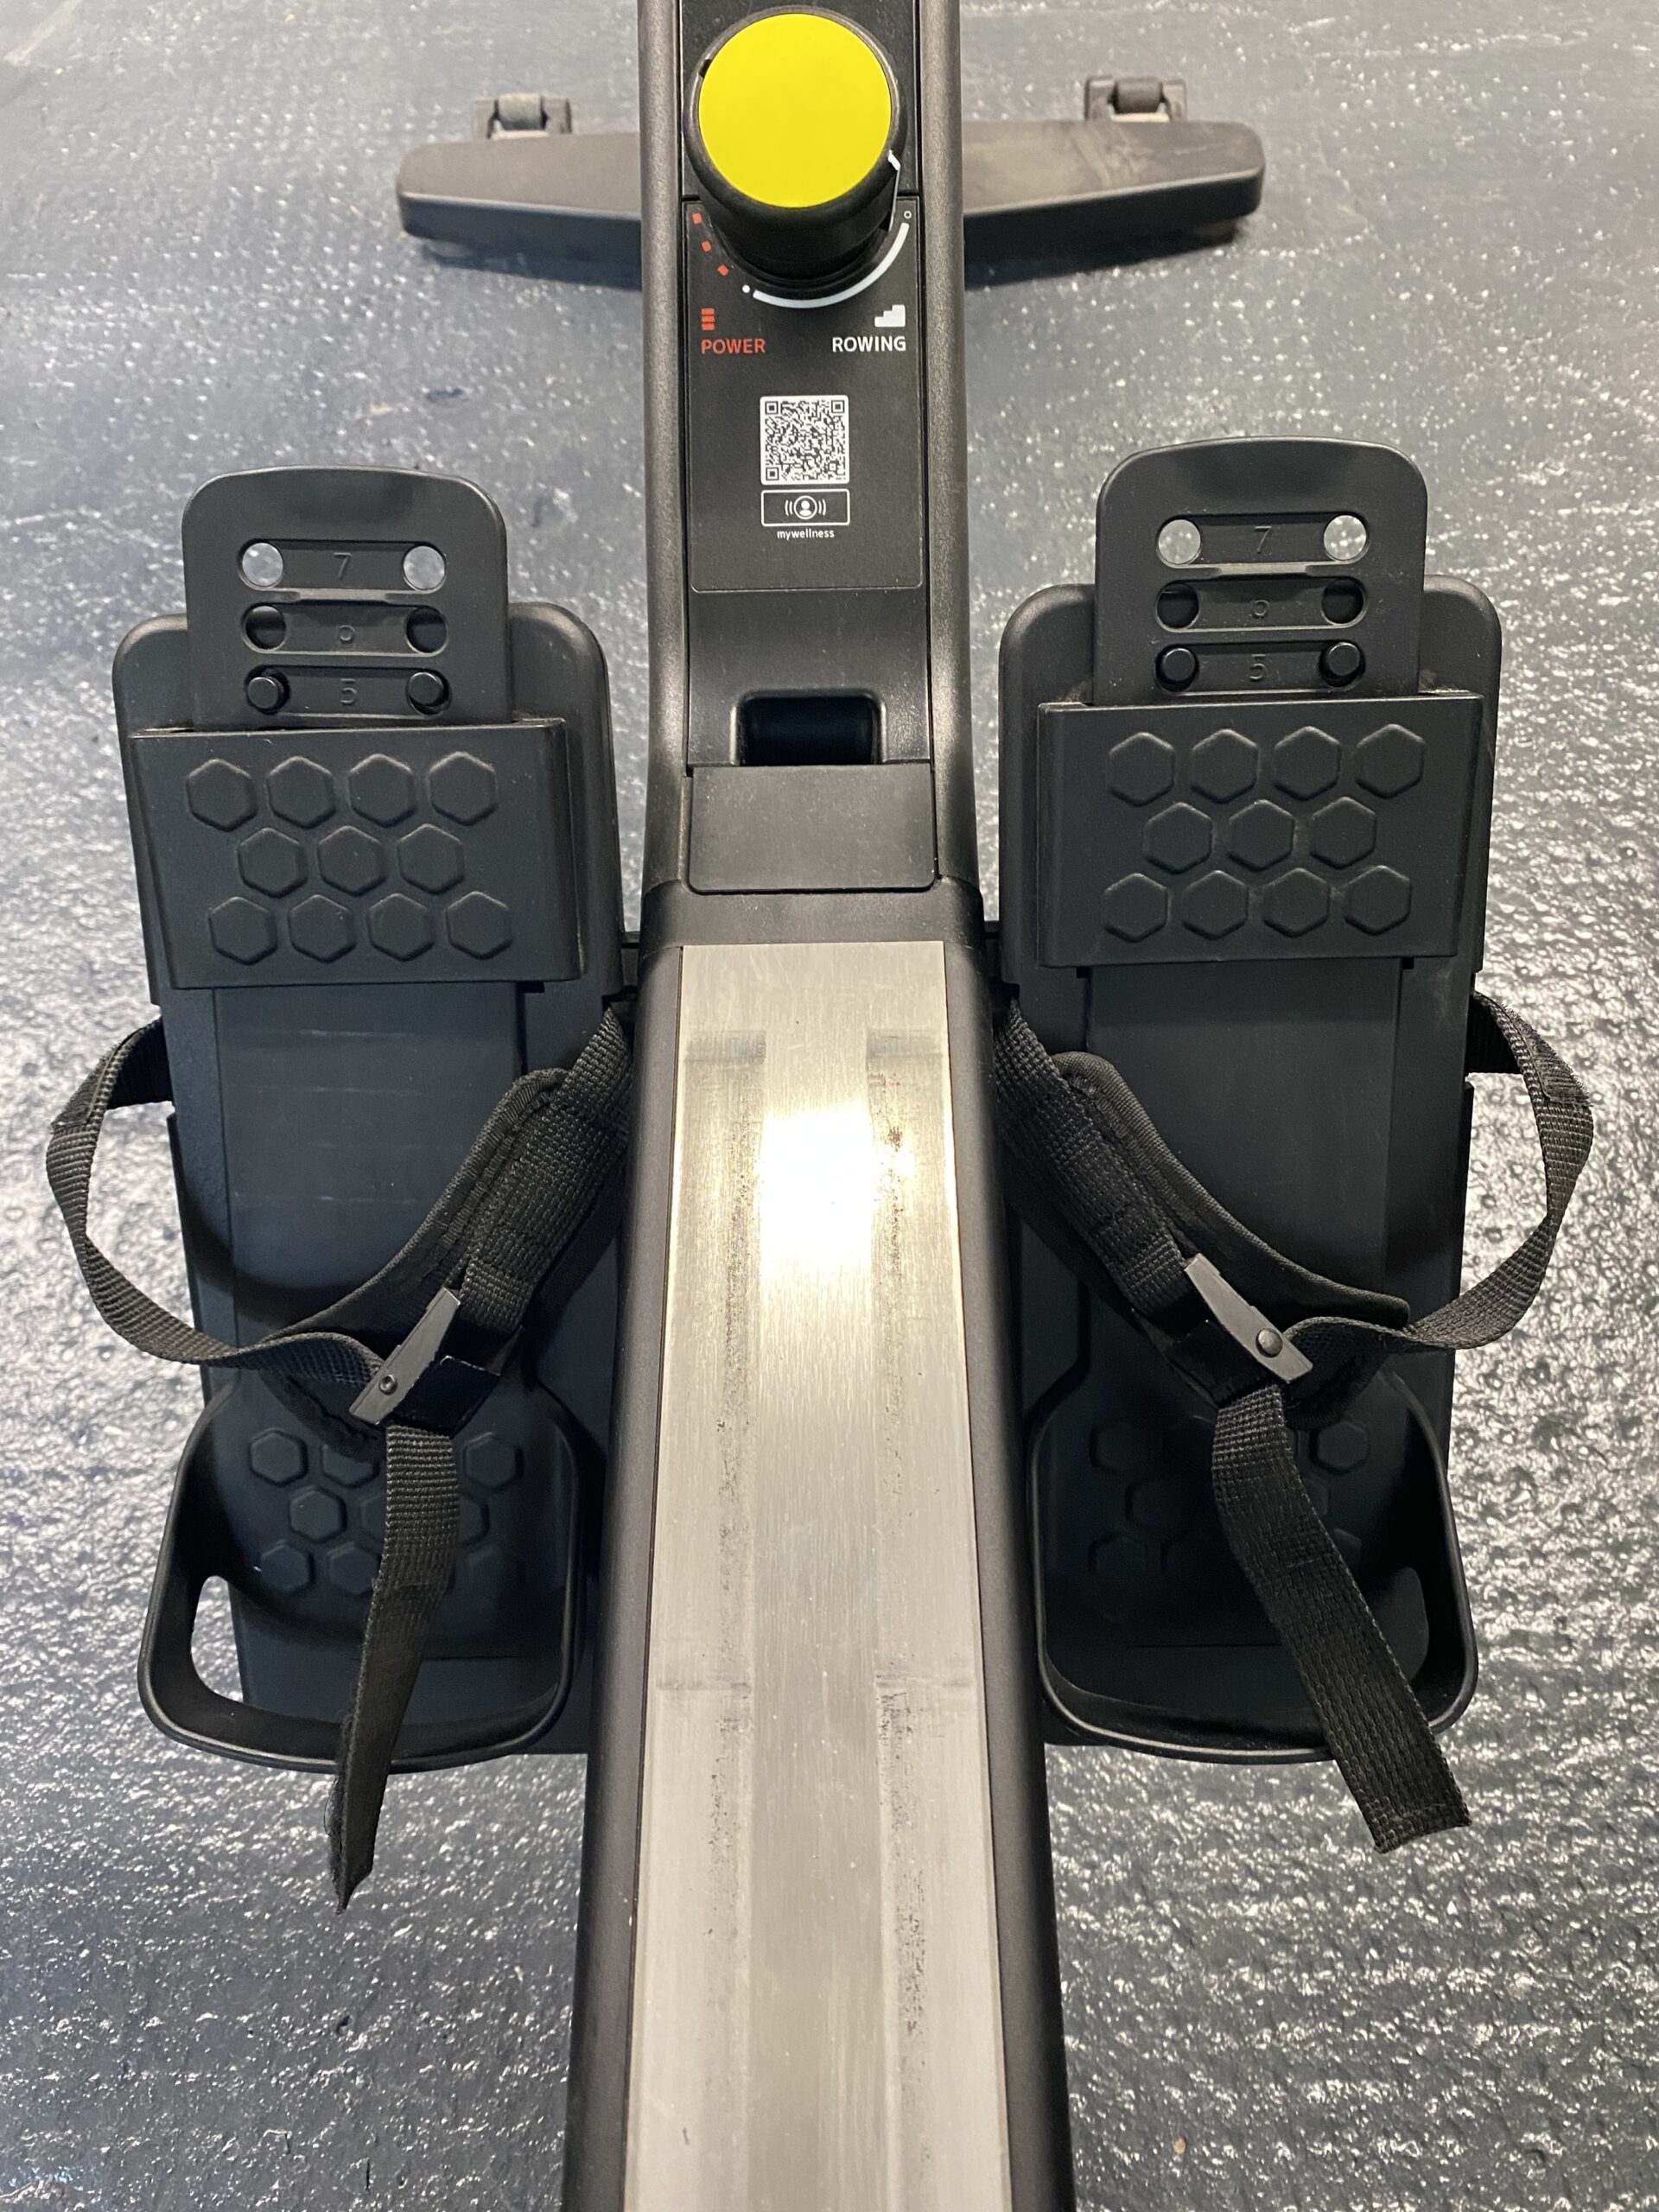
Where you set the footrest will depend on your flexibility, the aim being to have your knees directly above your ankles in the start position (image below). If you struggle to get your shins vertical, move the footrest down. If your shins are over-vertical, move the footrest up.
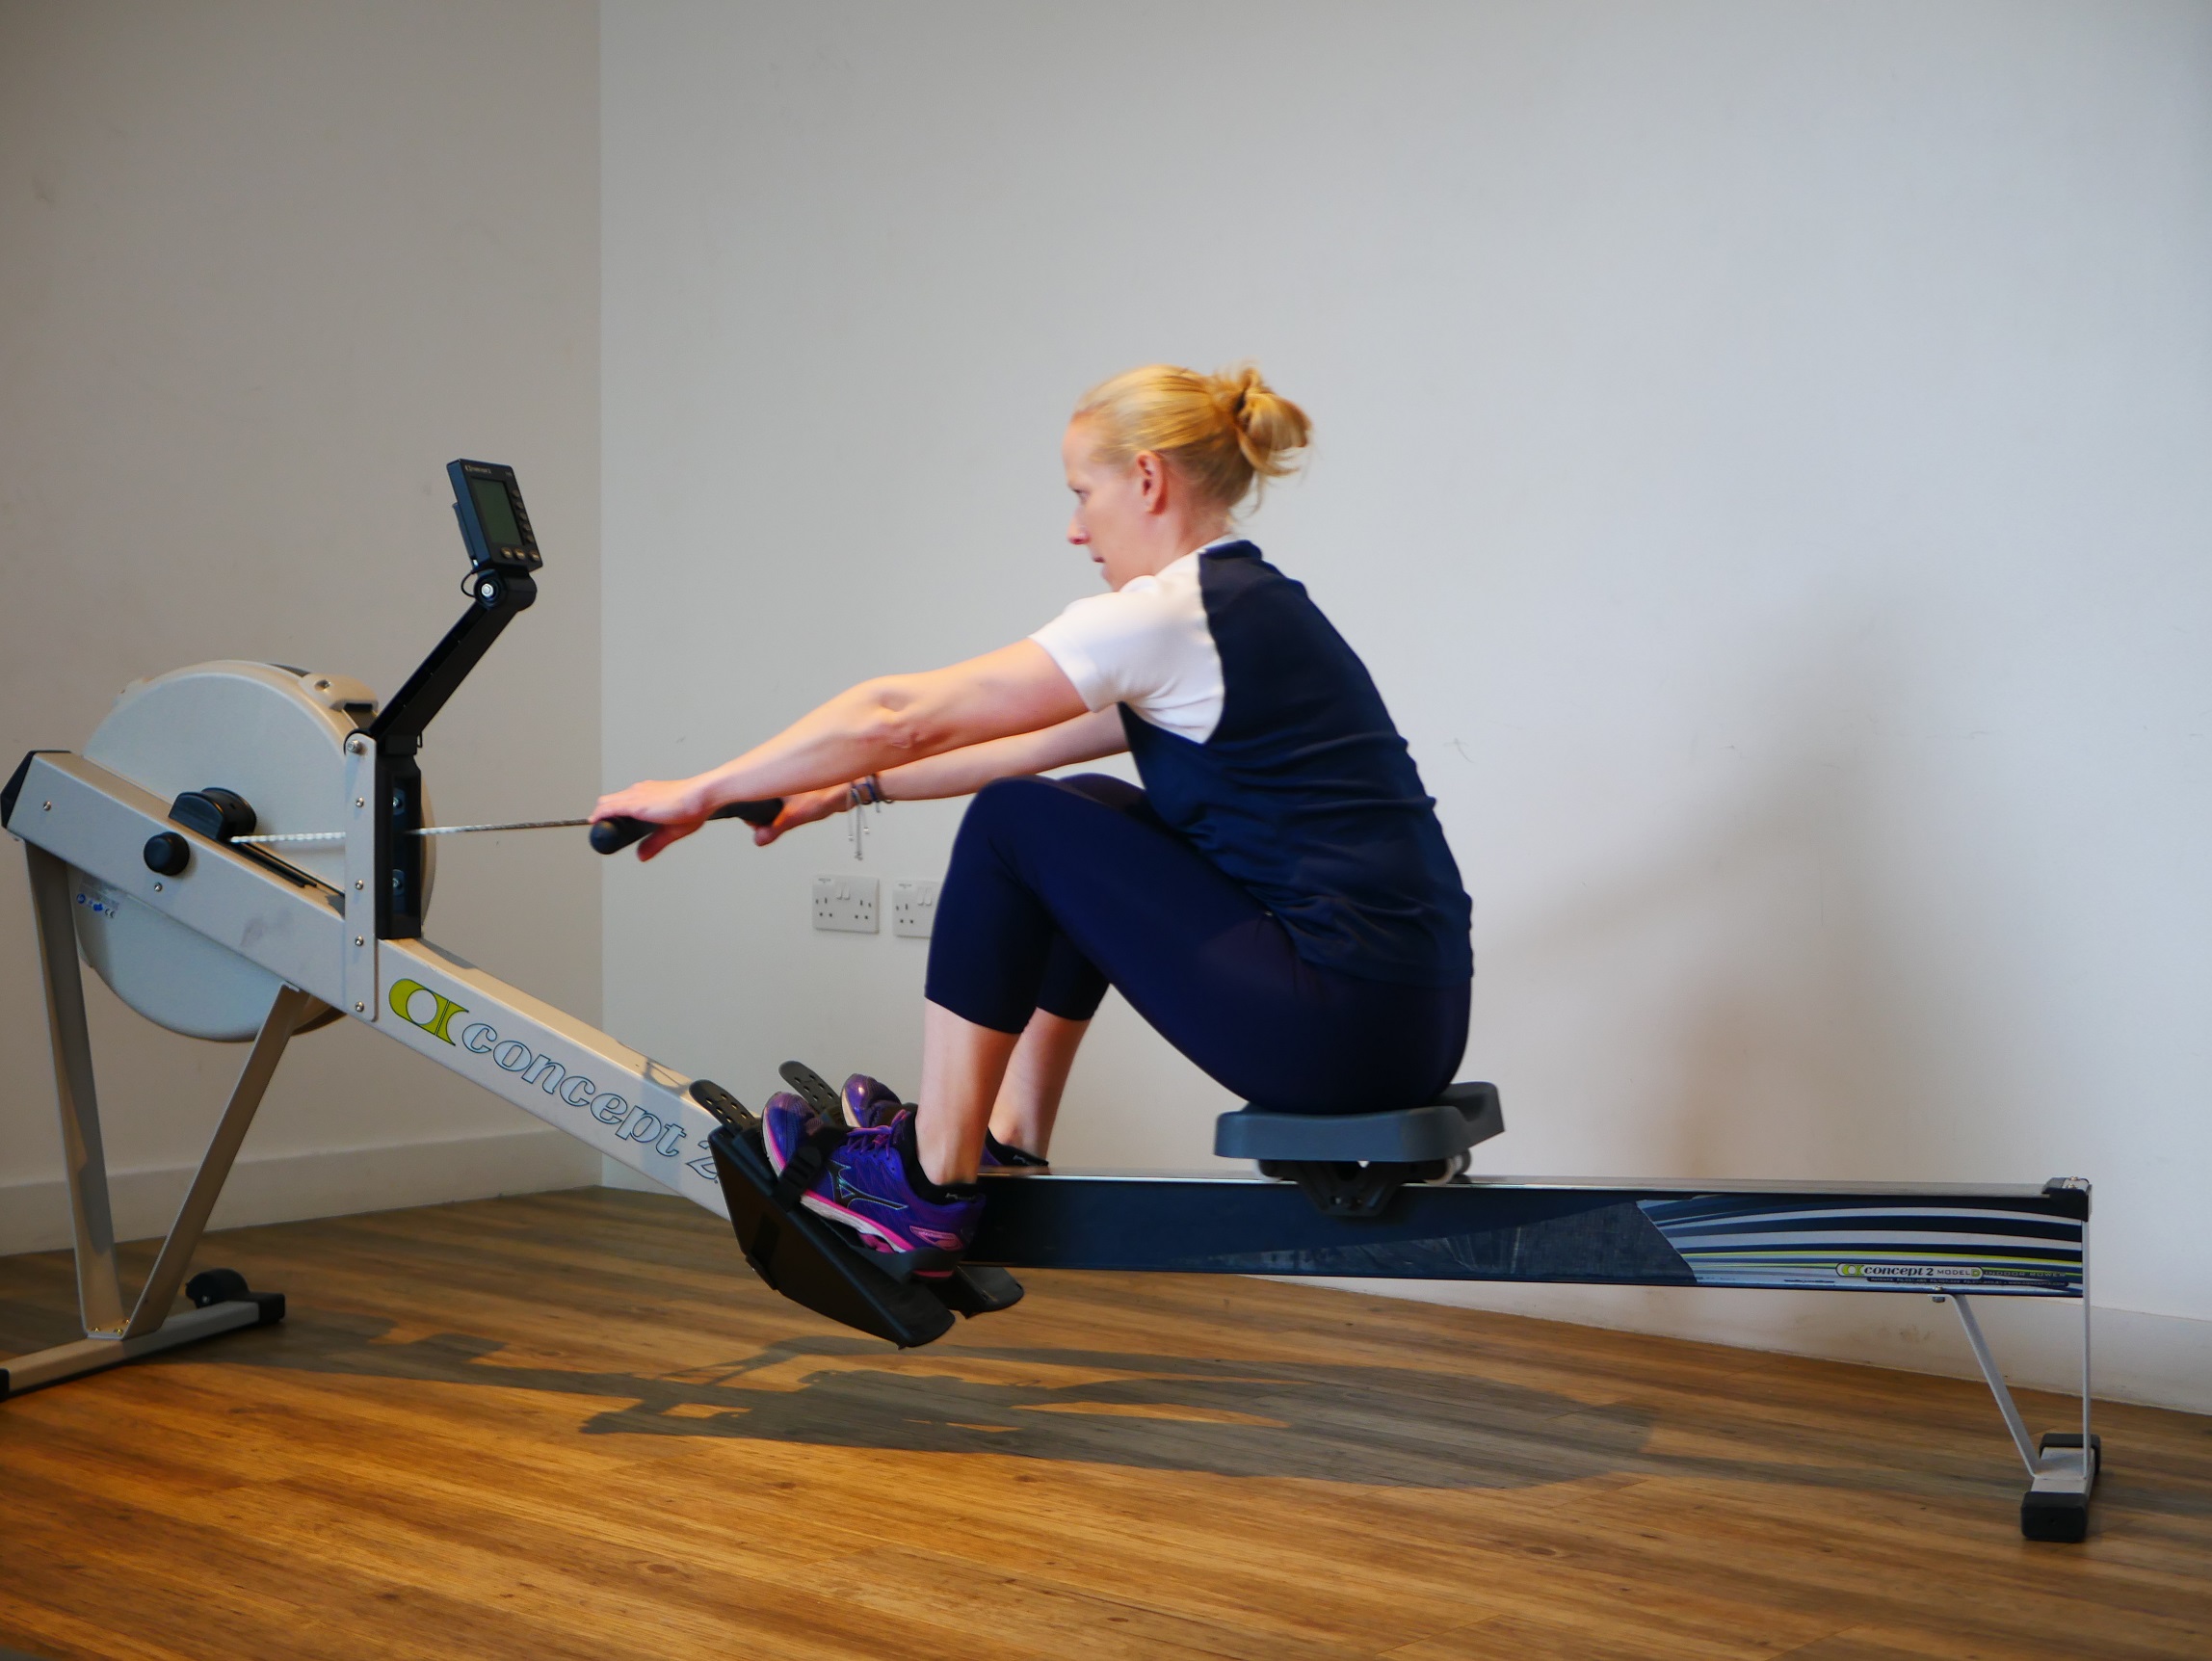
Once you have the footrest in the correct position, secure your feet in using the foot straps.
Monitor/screen height
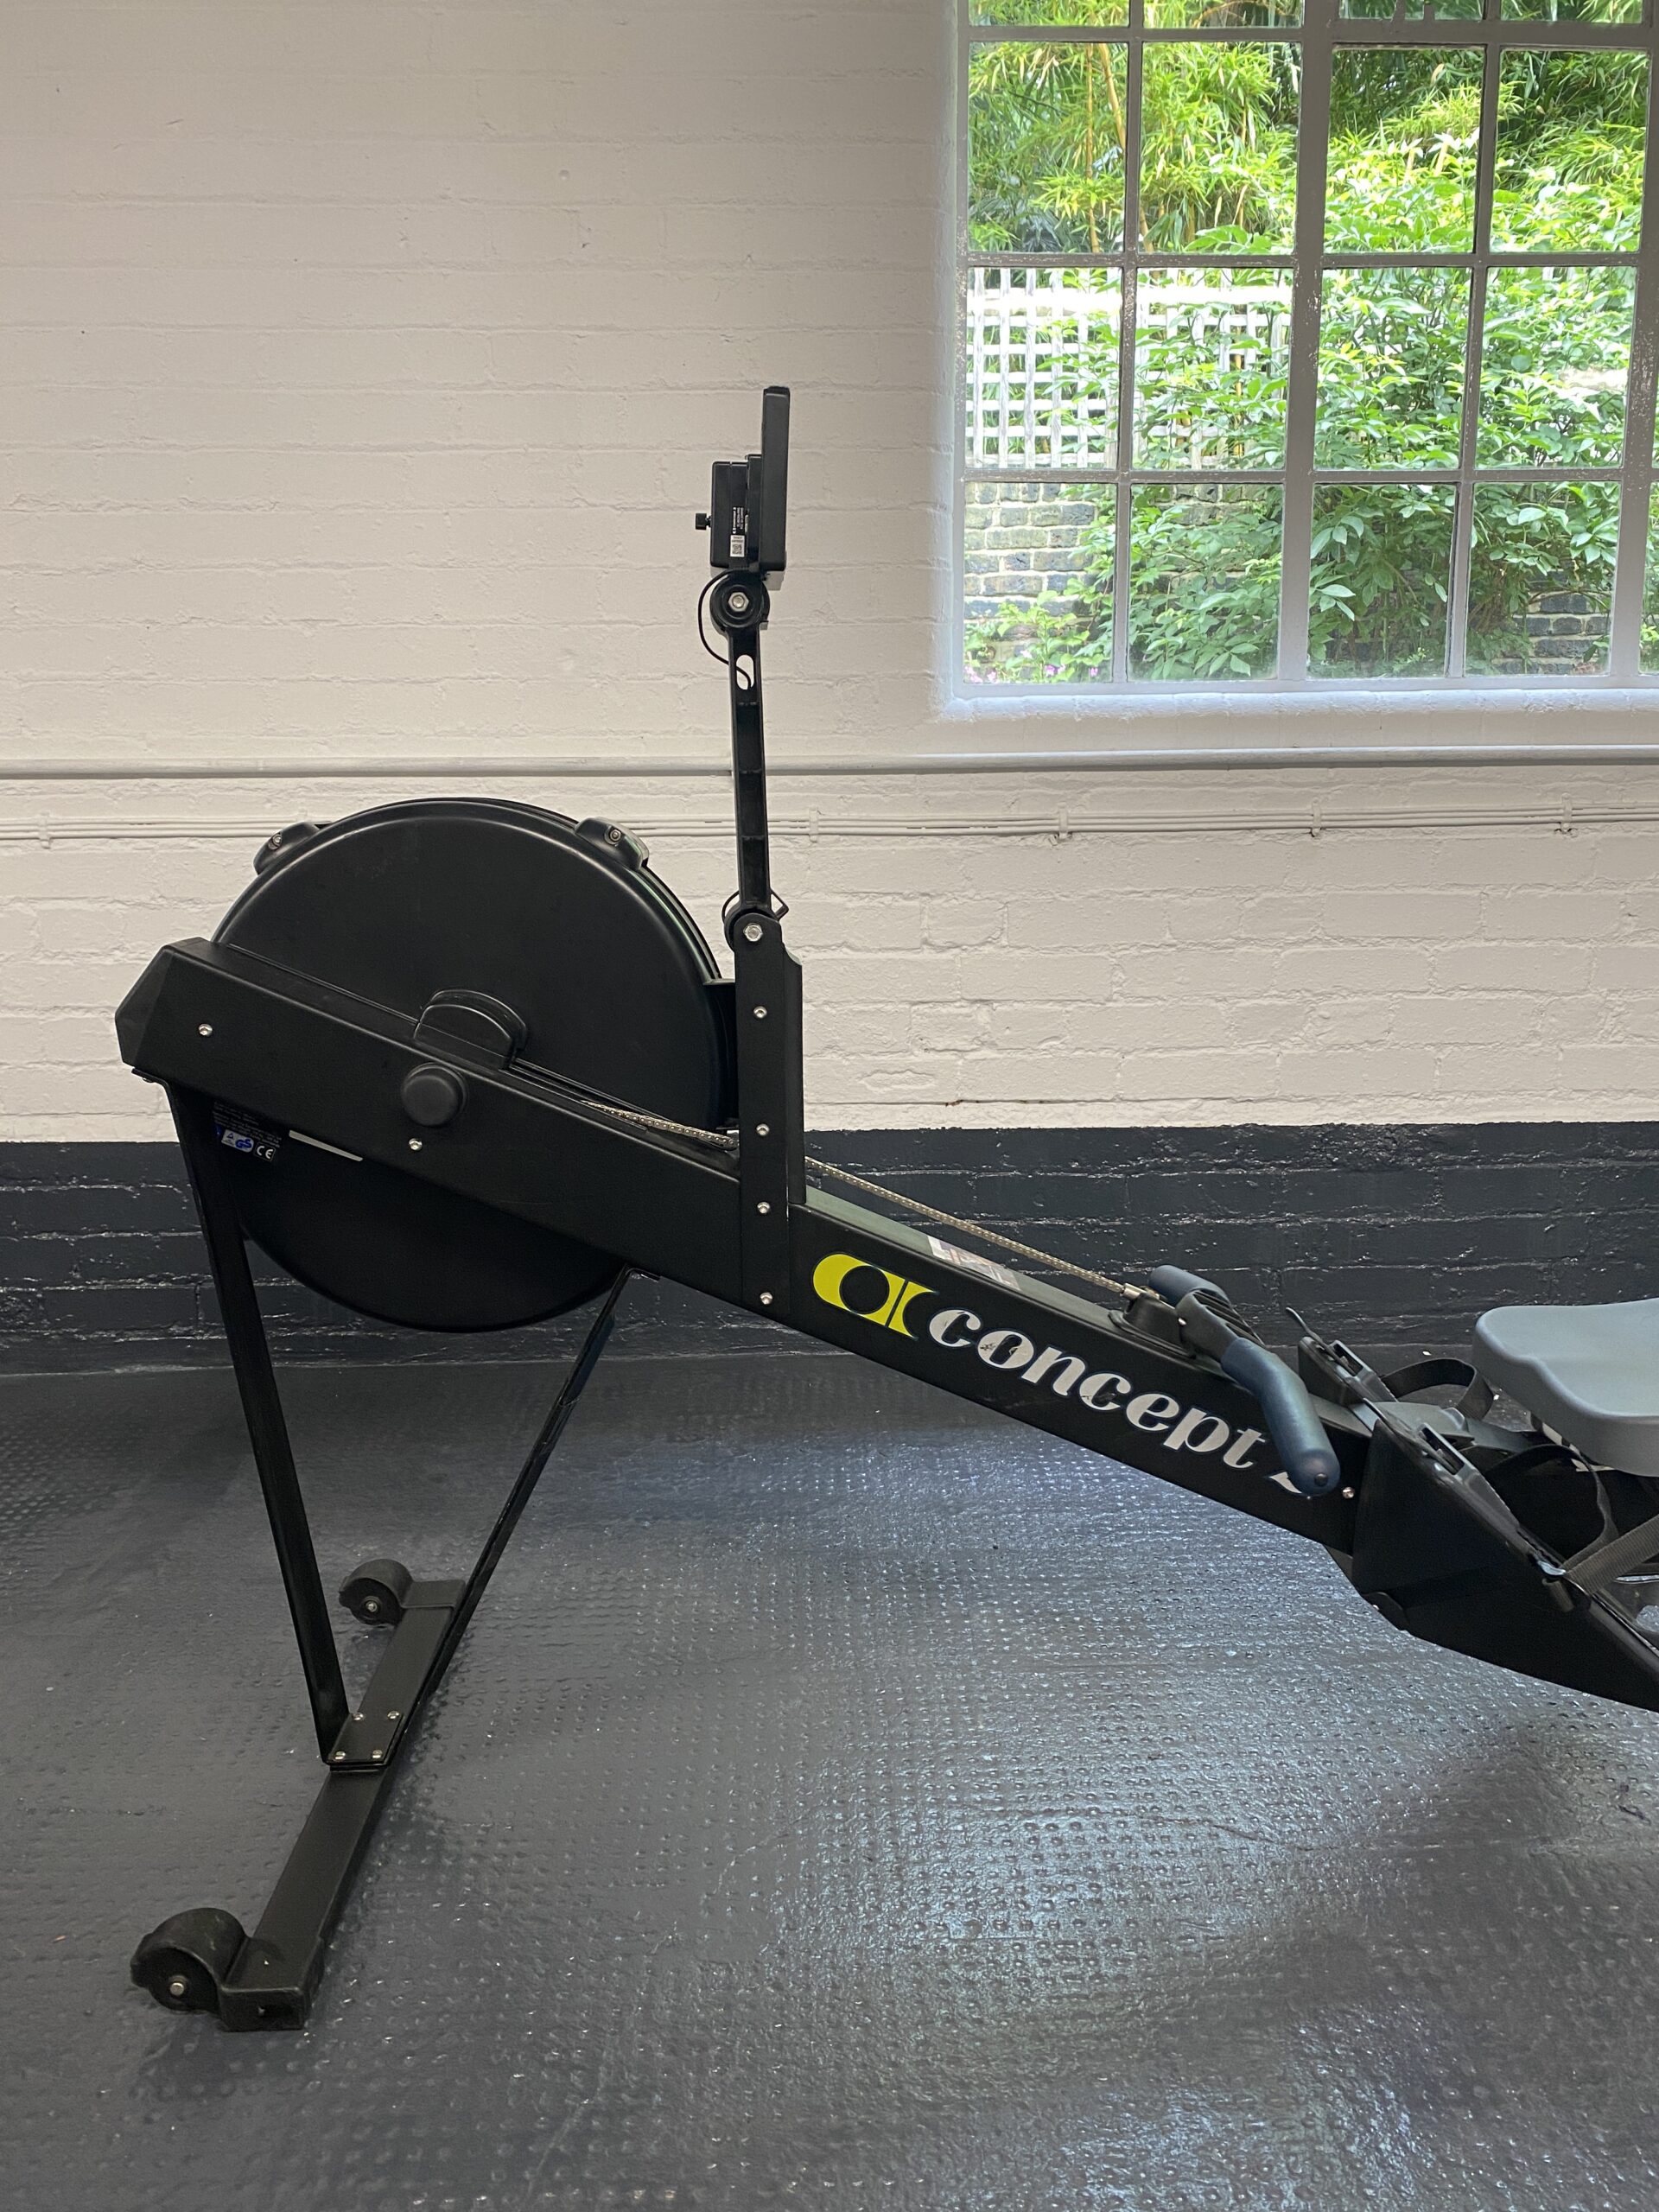
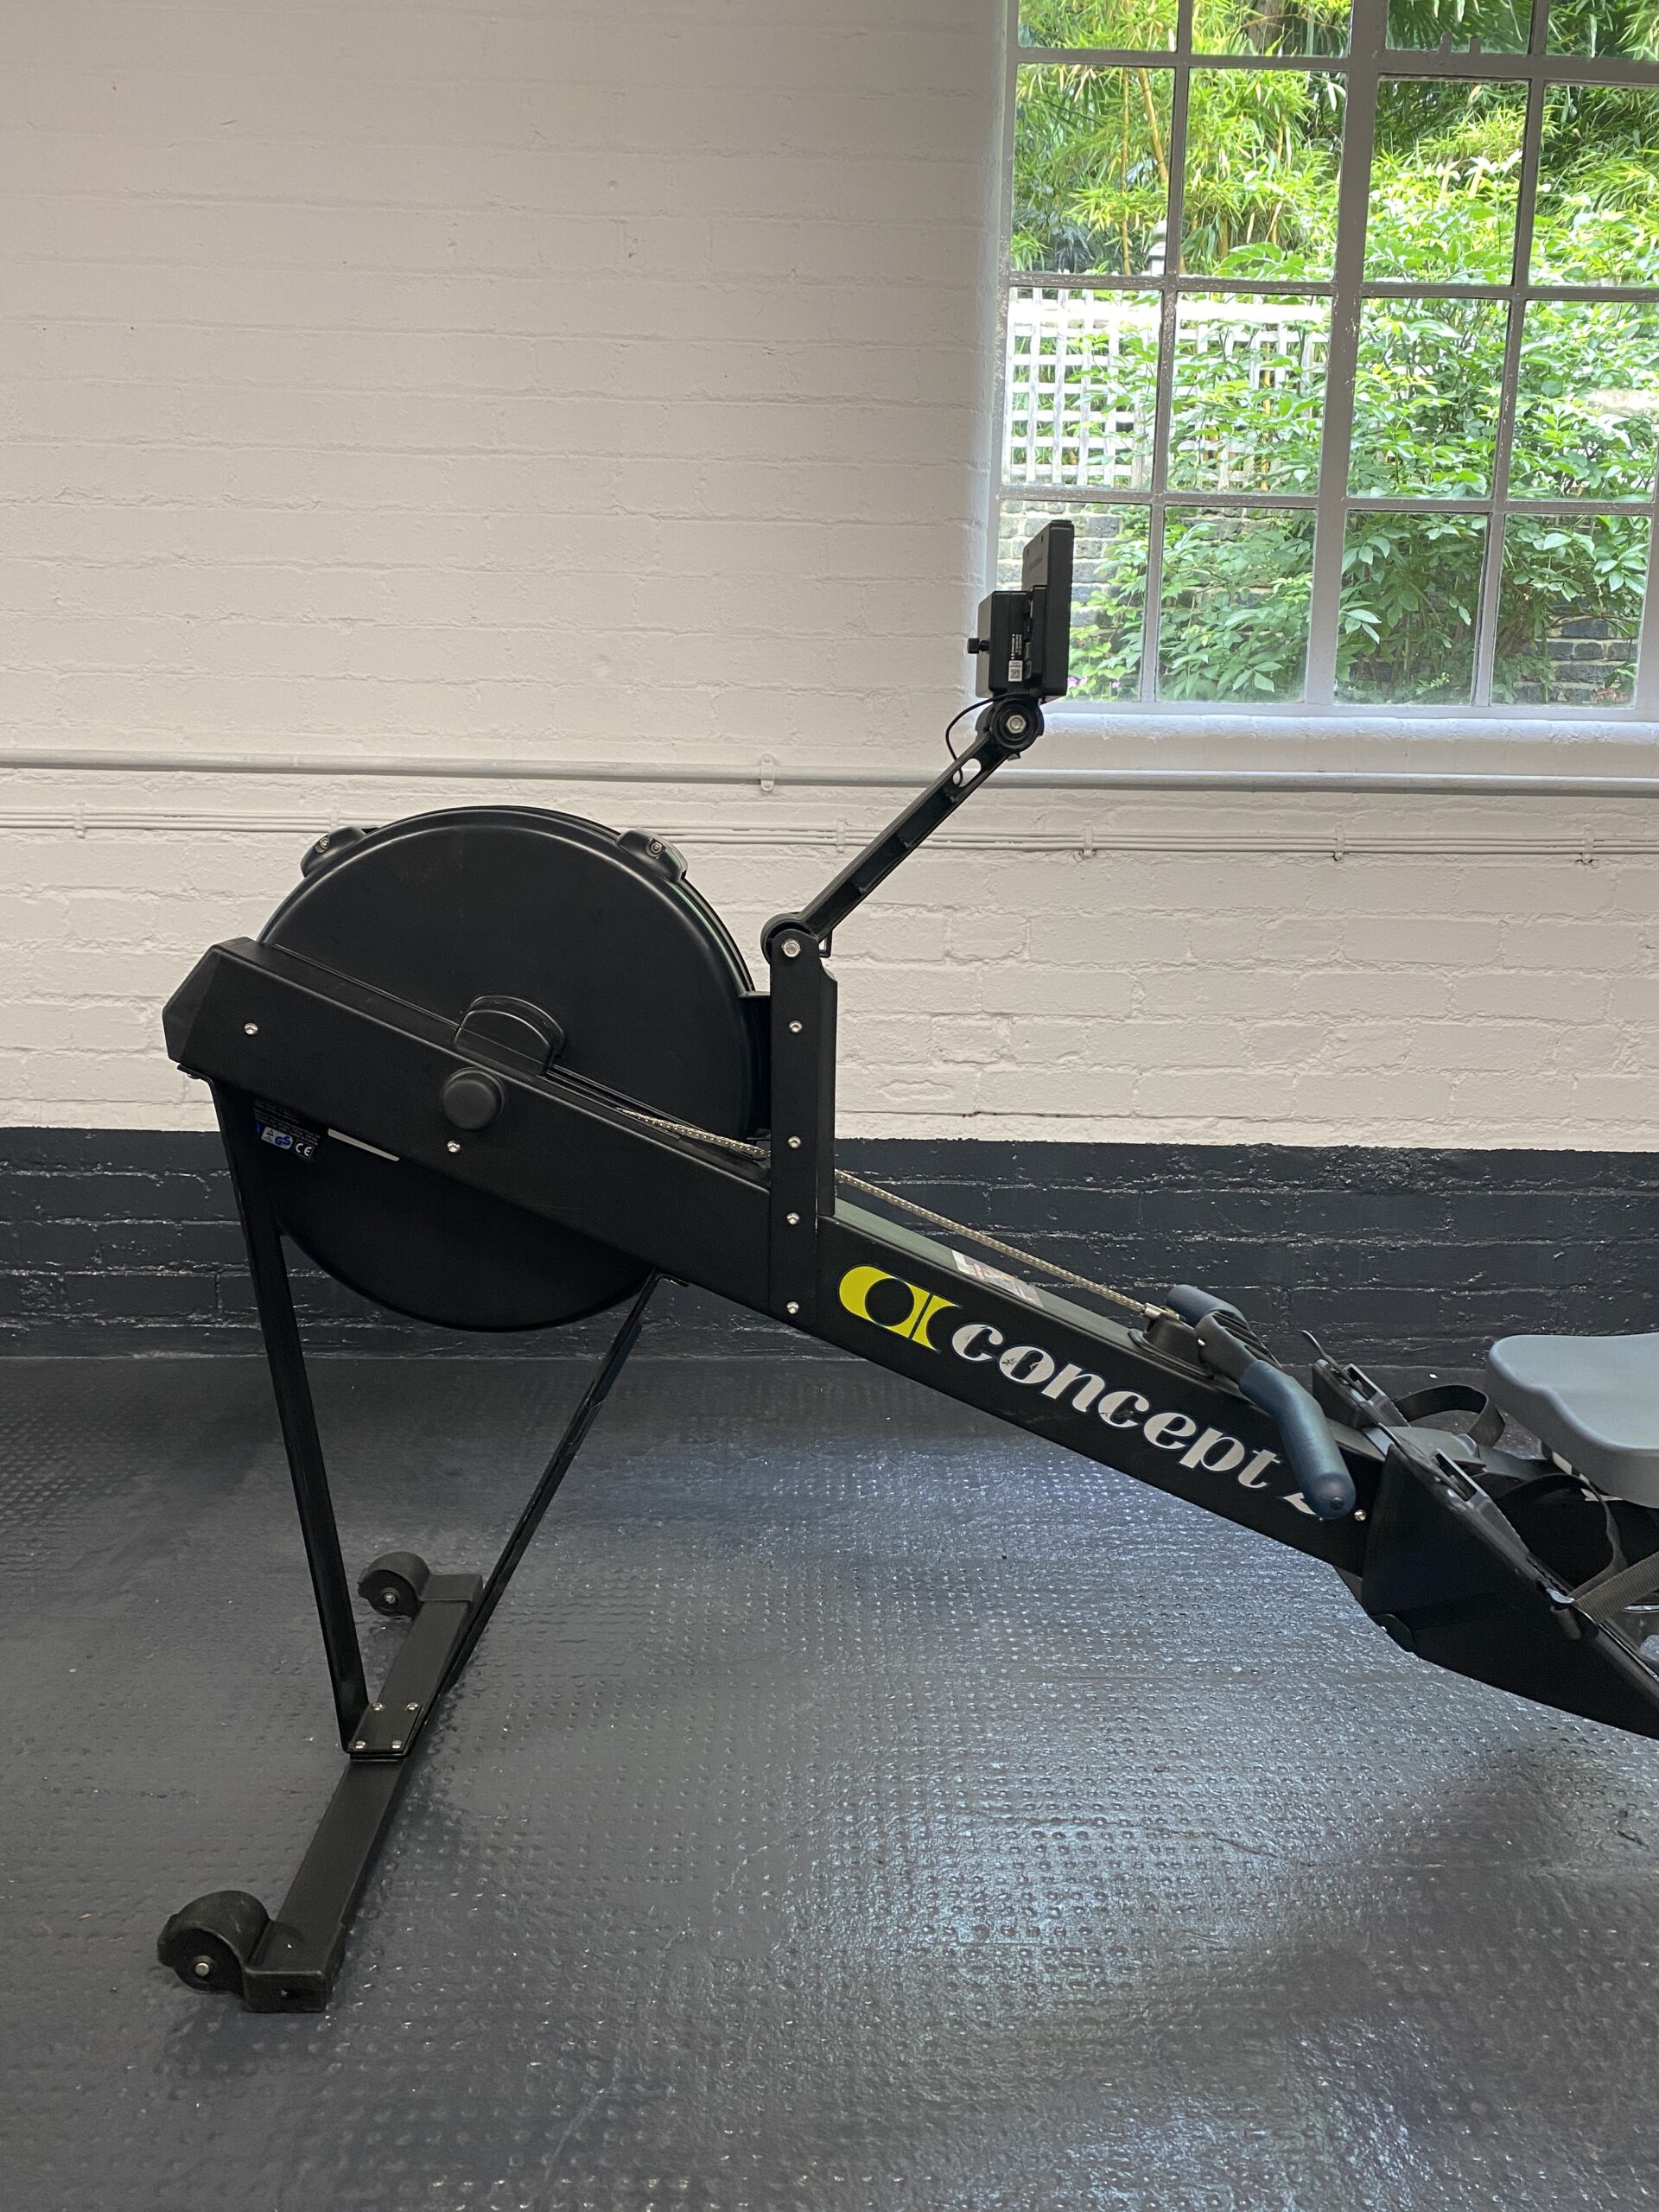
Only some models of indoor rowing machine allow you to move the monitor, or screen, up or down. Where this is possible, move the monitor to eye level. This will encourage you to sit up tall during your workout, and ensure you maintain good posture throughout. Where this is not possible, move your focus to a fixed point in the distance, taking a look at the screen only when you need to, to prevent you from losing form when you are rowing.
Resistance
There are two aspects to resistance on an indoor rowing machine: the resistance set on the machine and the resistance you create when you row.
Resistance set on the machine
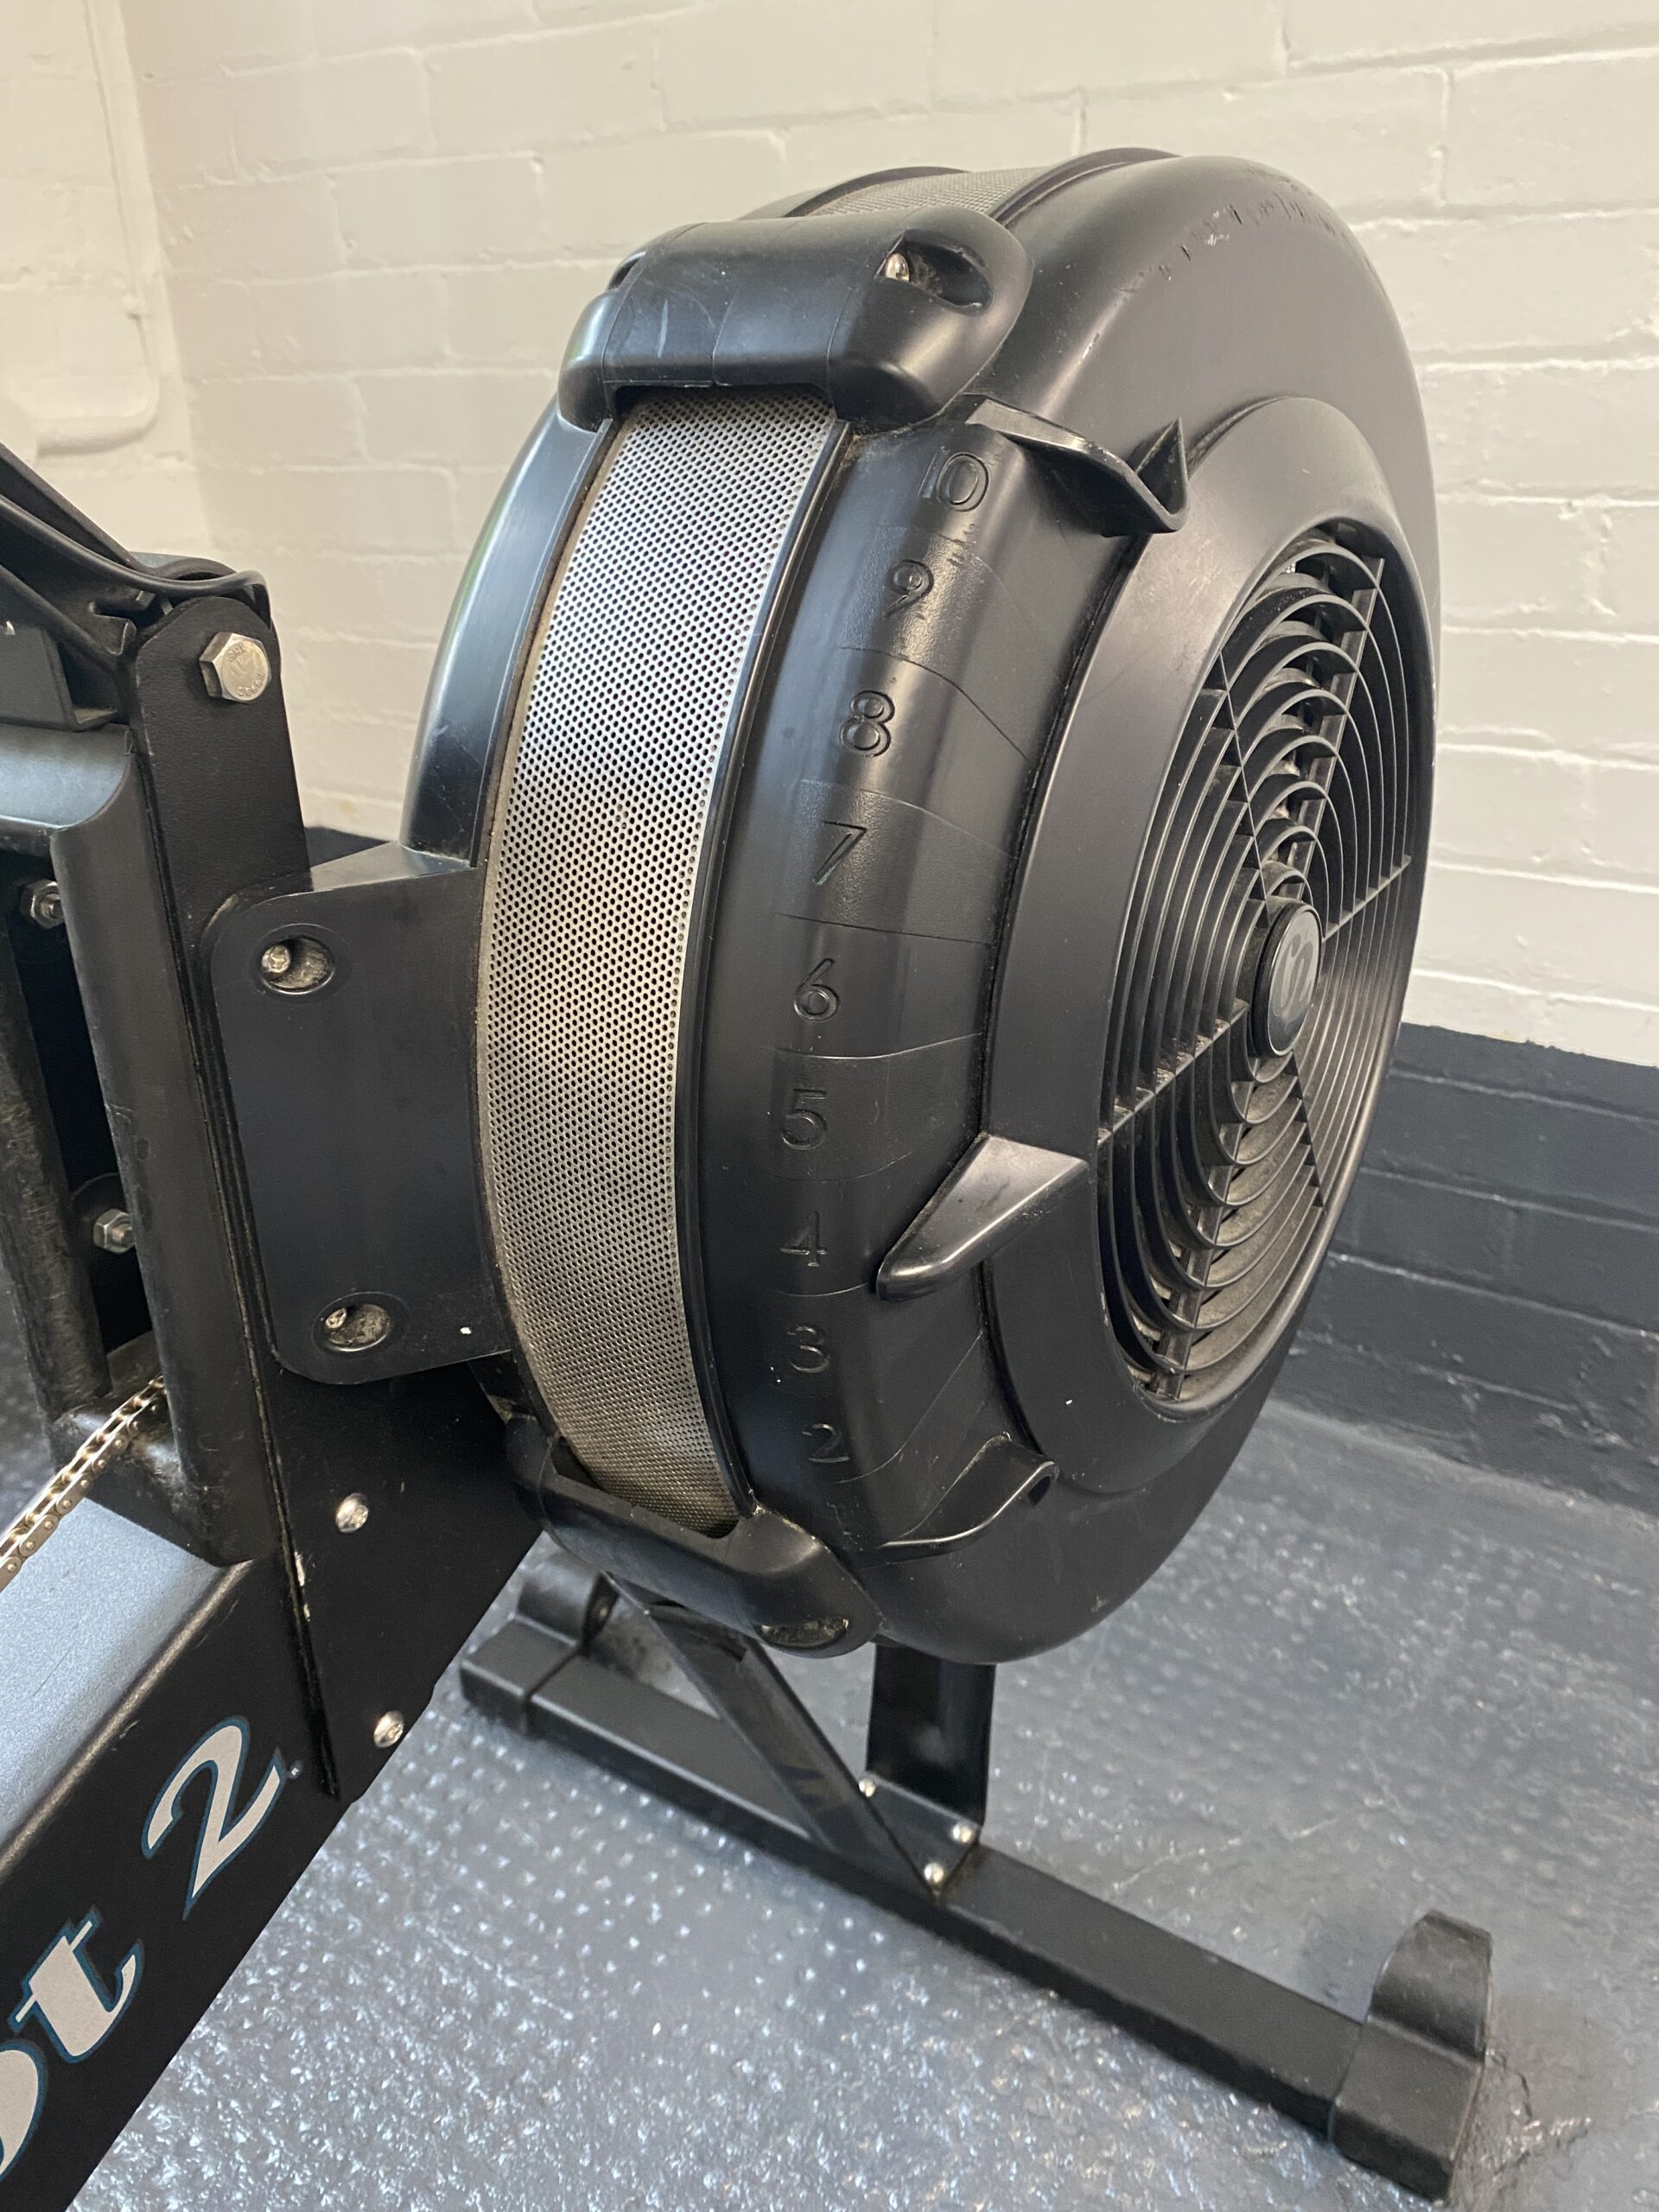
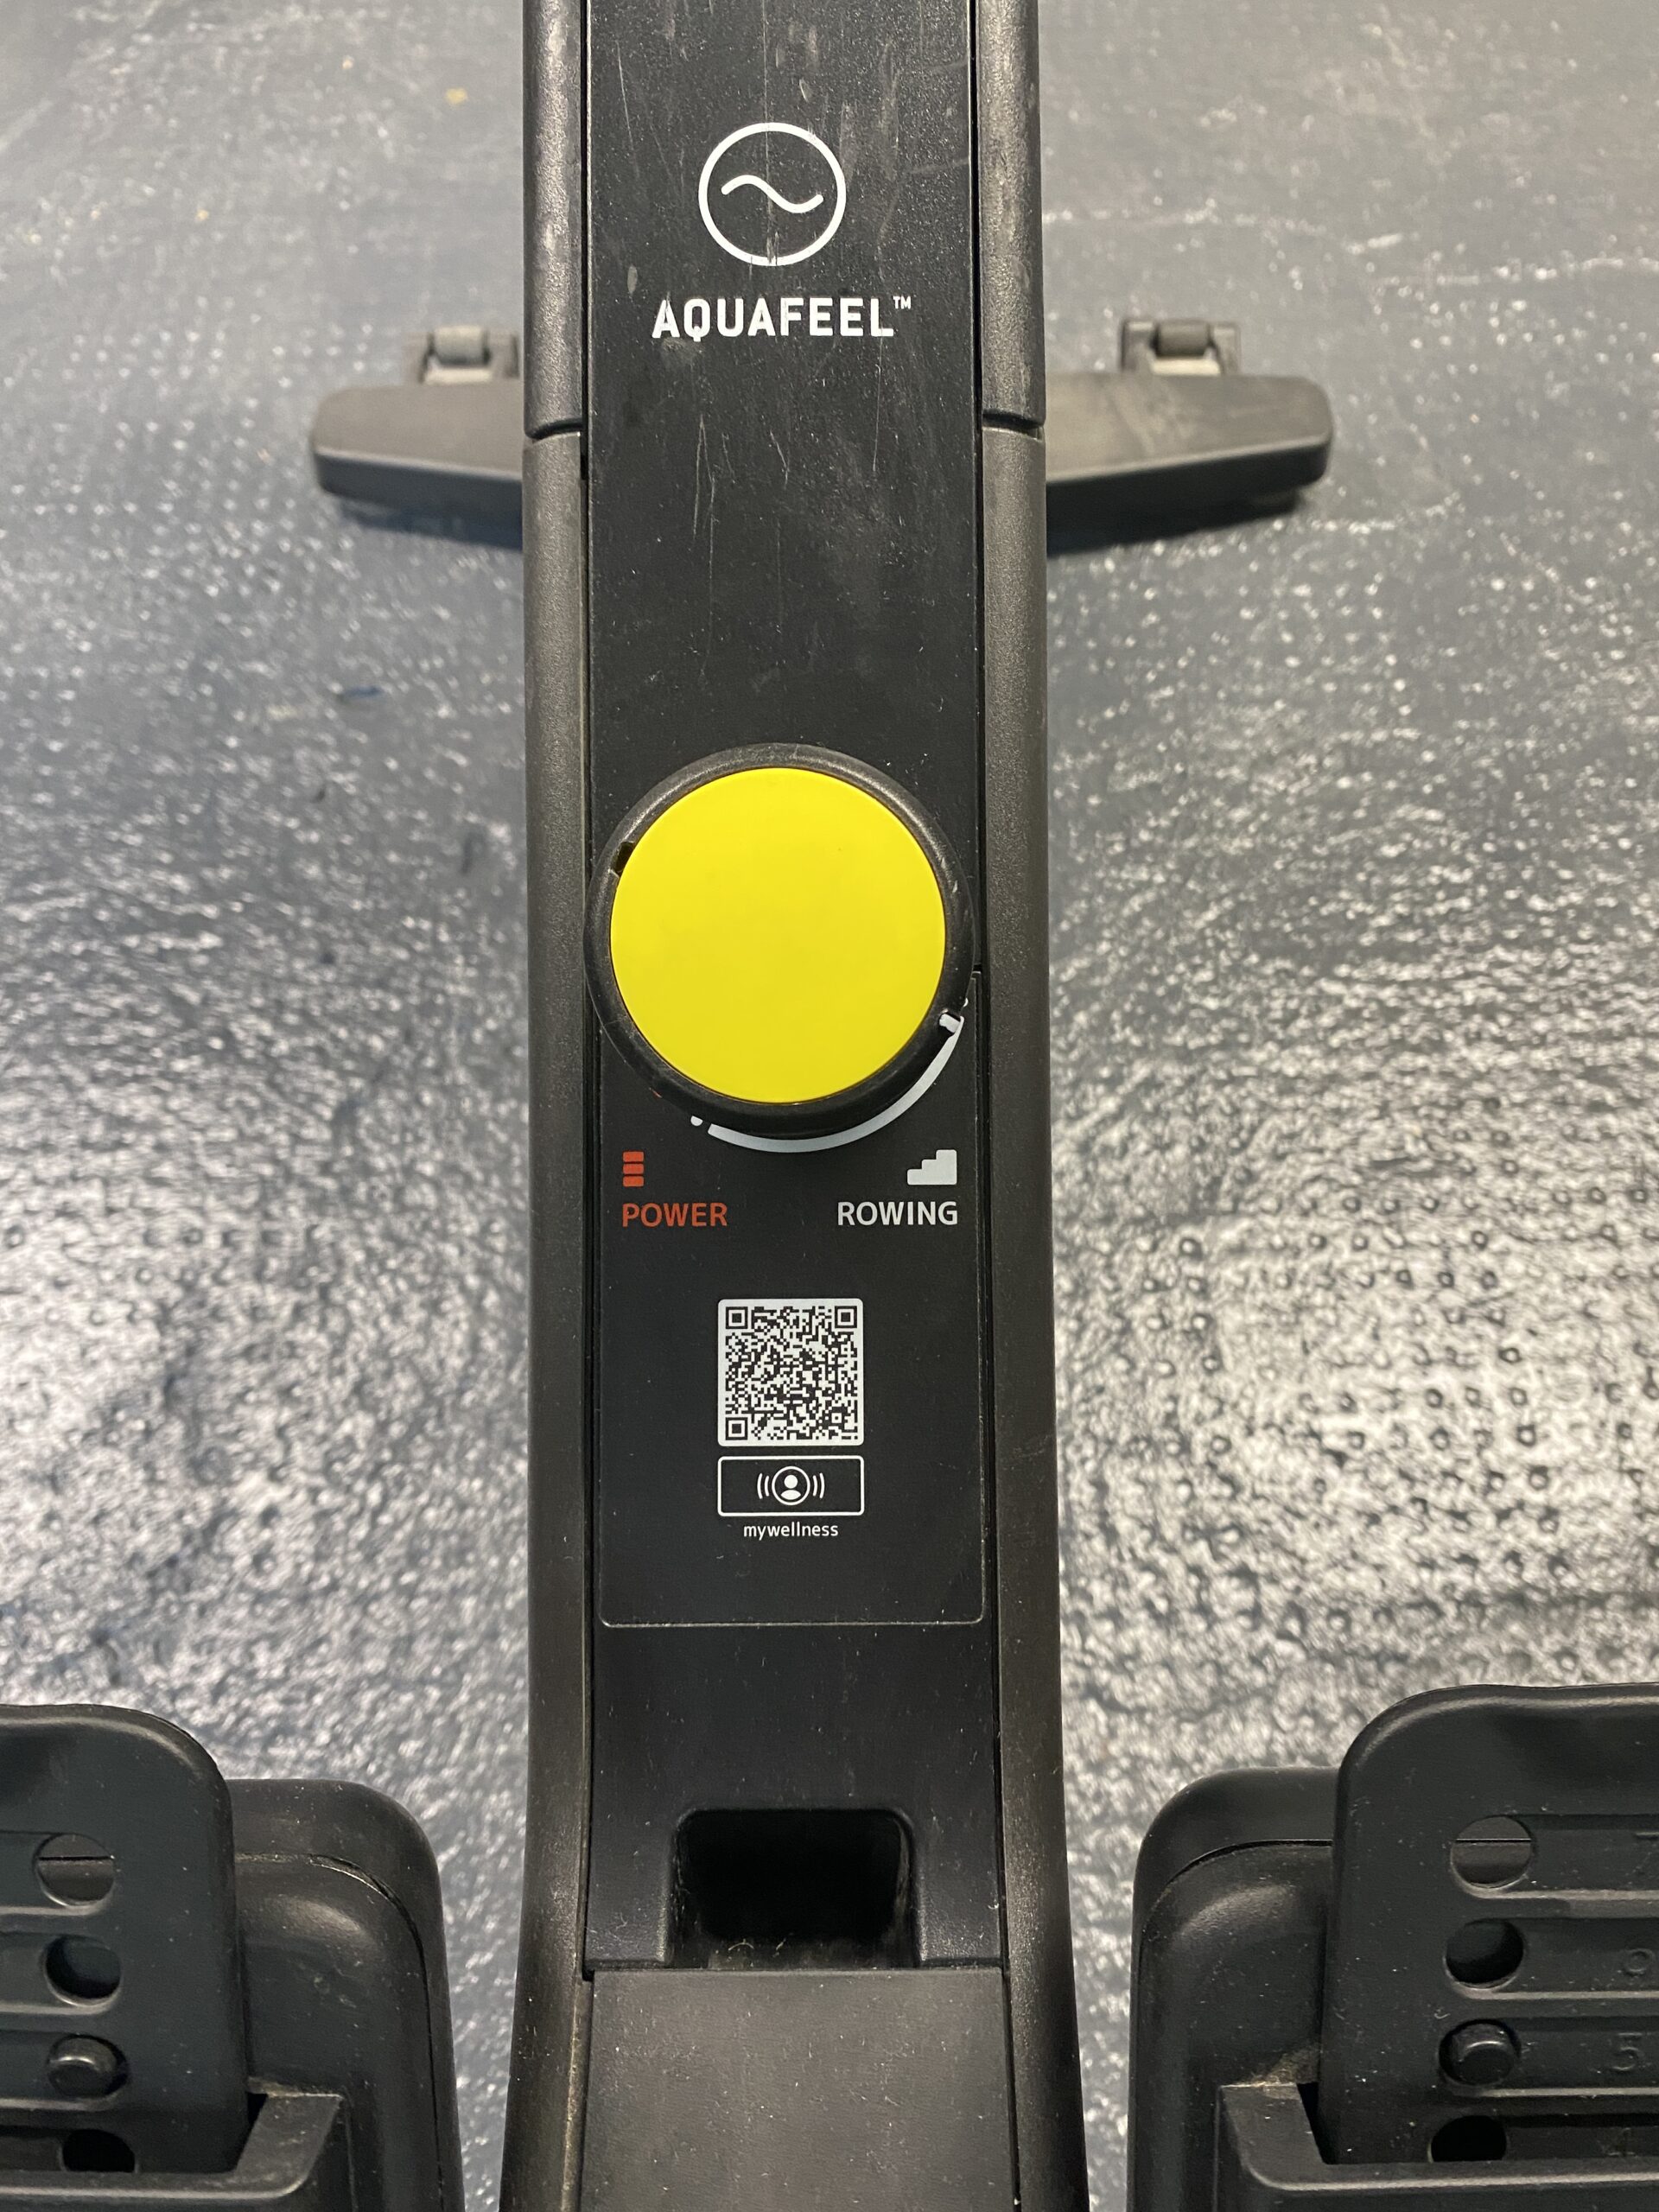
On some indoor rowing machines the resistance cannot easily be changed (e.g. water rowers) where the amount of water in the drum is fixed. Other models of indoor rowing machine will have a lever or dial which you can move to set the resistance for your workout. On a fan-based rowing machine, this resistance is equivalent to the amount of air allowed in the fan cage that you need to work against to move the flywheel.
These levels can be related to rowing a lighter or heavier boat, level 1 = light, level 10 = heavy, and affect how rowing on the machine feels, but do not directly affect the resistance as that is based on how hard you work each stroke. Instead, you can see the levels as similar to the gearings on a bike, with a lower level relating to easier gears.
When you first start indoor rowing it is a good idea to set the resistance level low. It will feel light but allows you to focus on technique and get used to the machine. Once you feel more confident you can increase the resistance to a more comfortable level. This comfortable level is not going to be the highest resistance level on the machine, you are more likely to use all your muscle groups as intended and maintain your technique for the duration of your session if you keep the resistance level sensible.
It is worth noting that poorly maintained or older machines may suffer from wear and tear which can lead to a reduction in the resistance provided at each level.
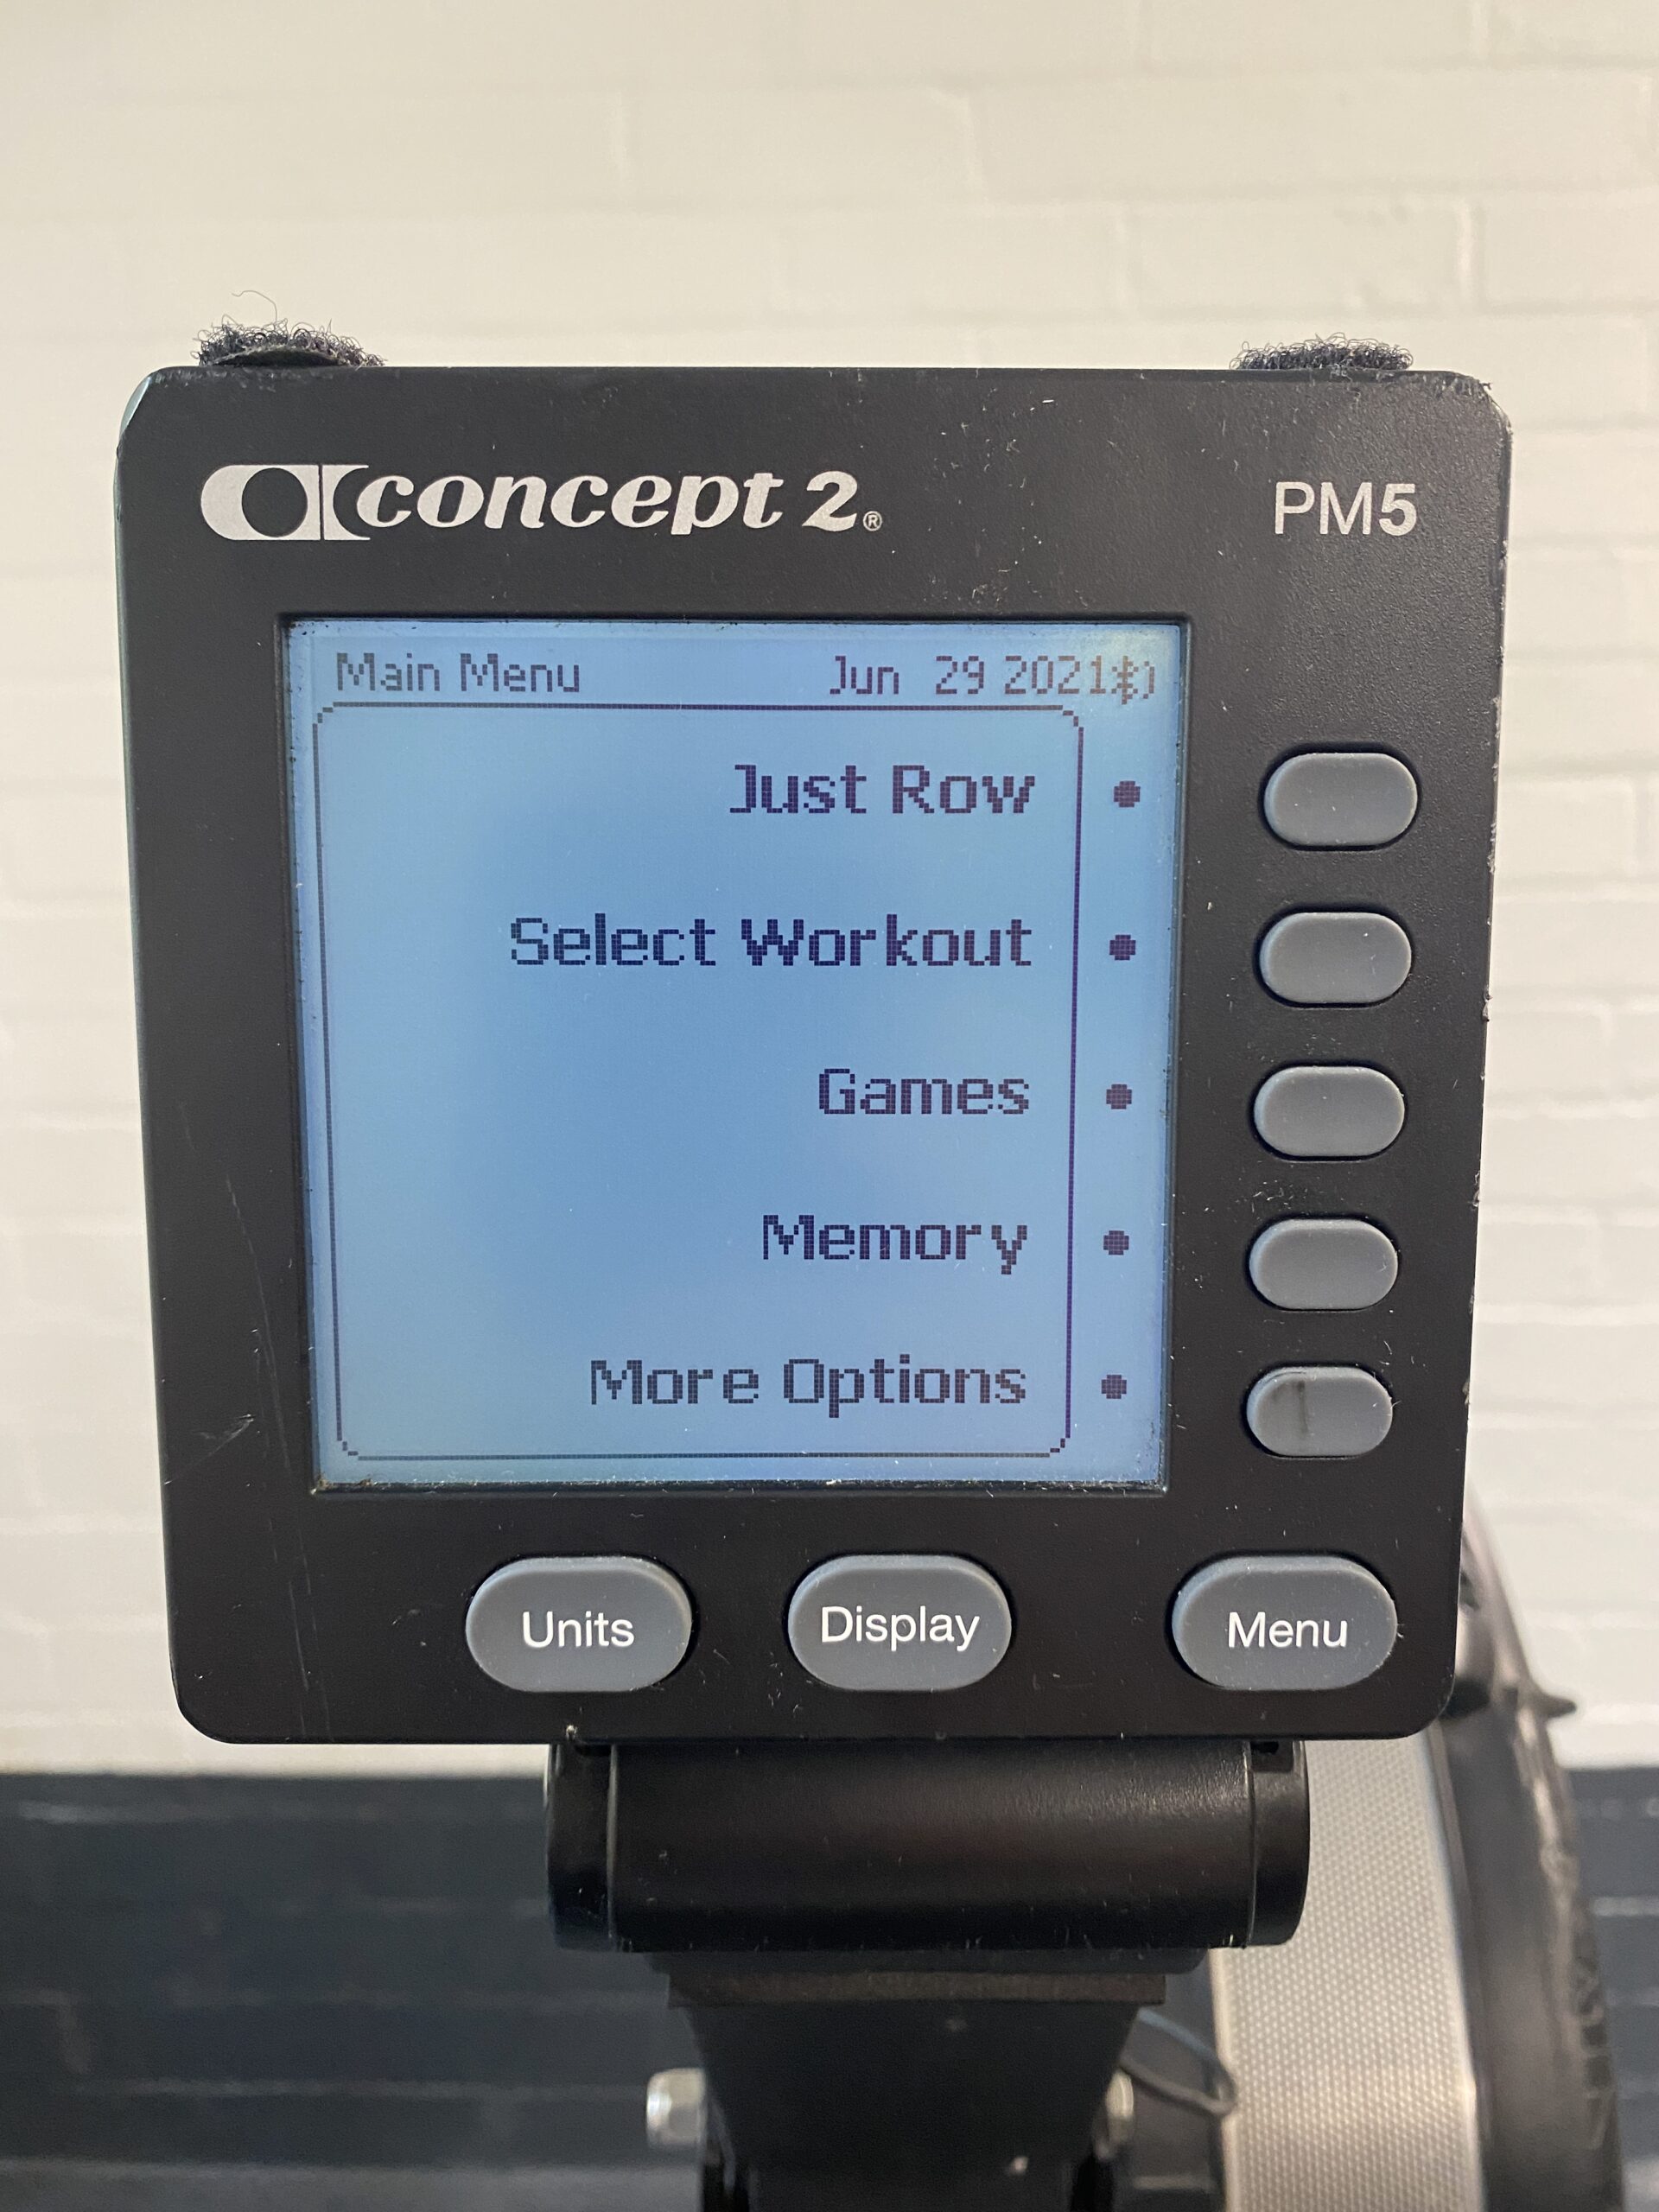
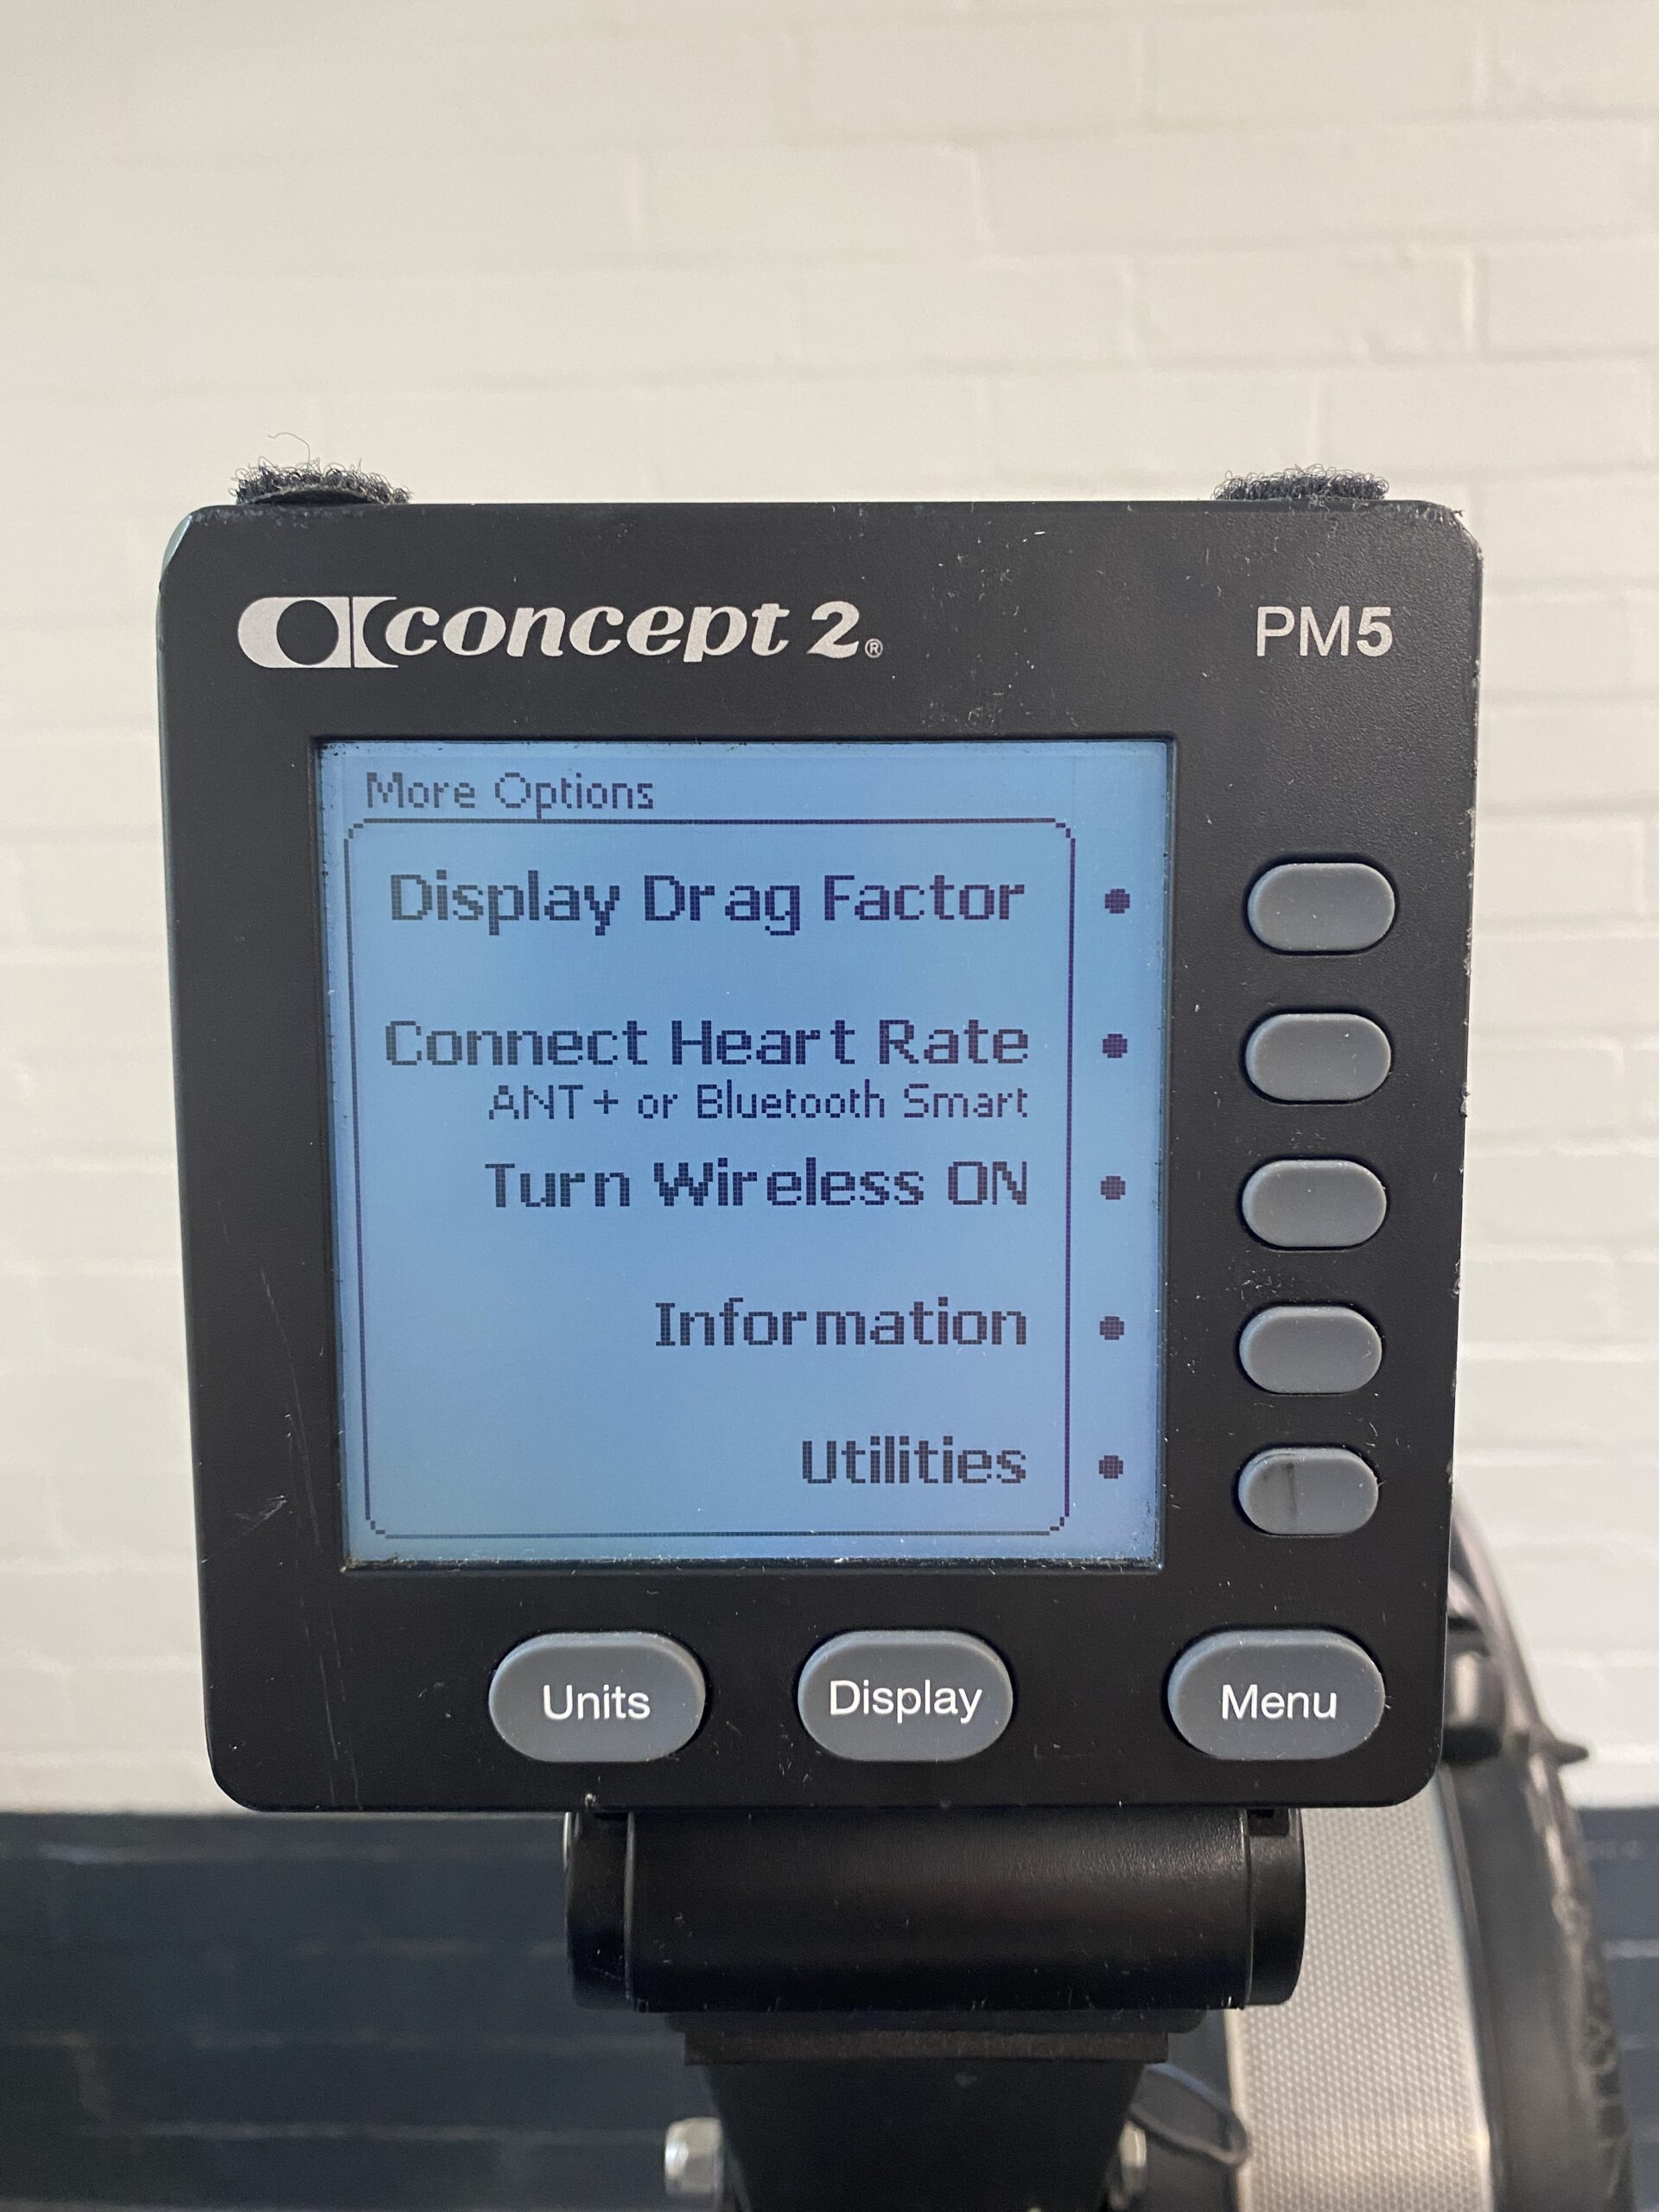
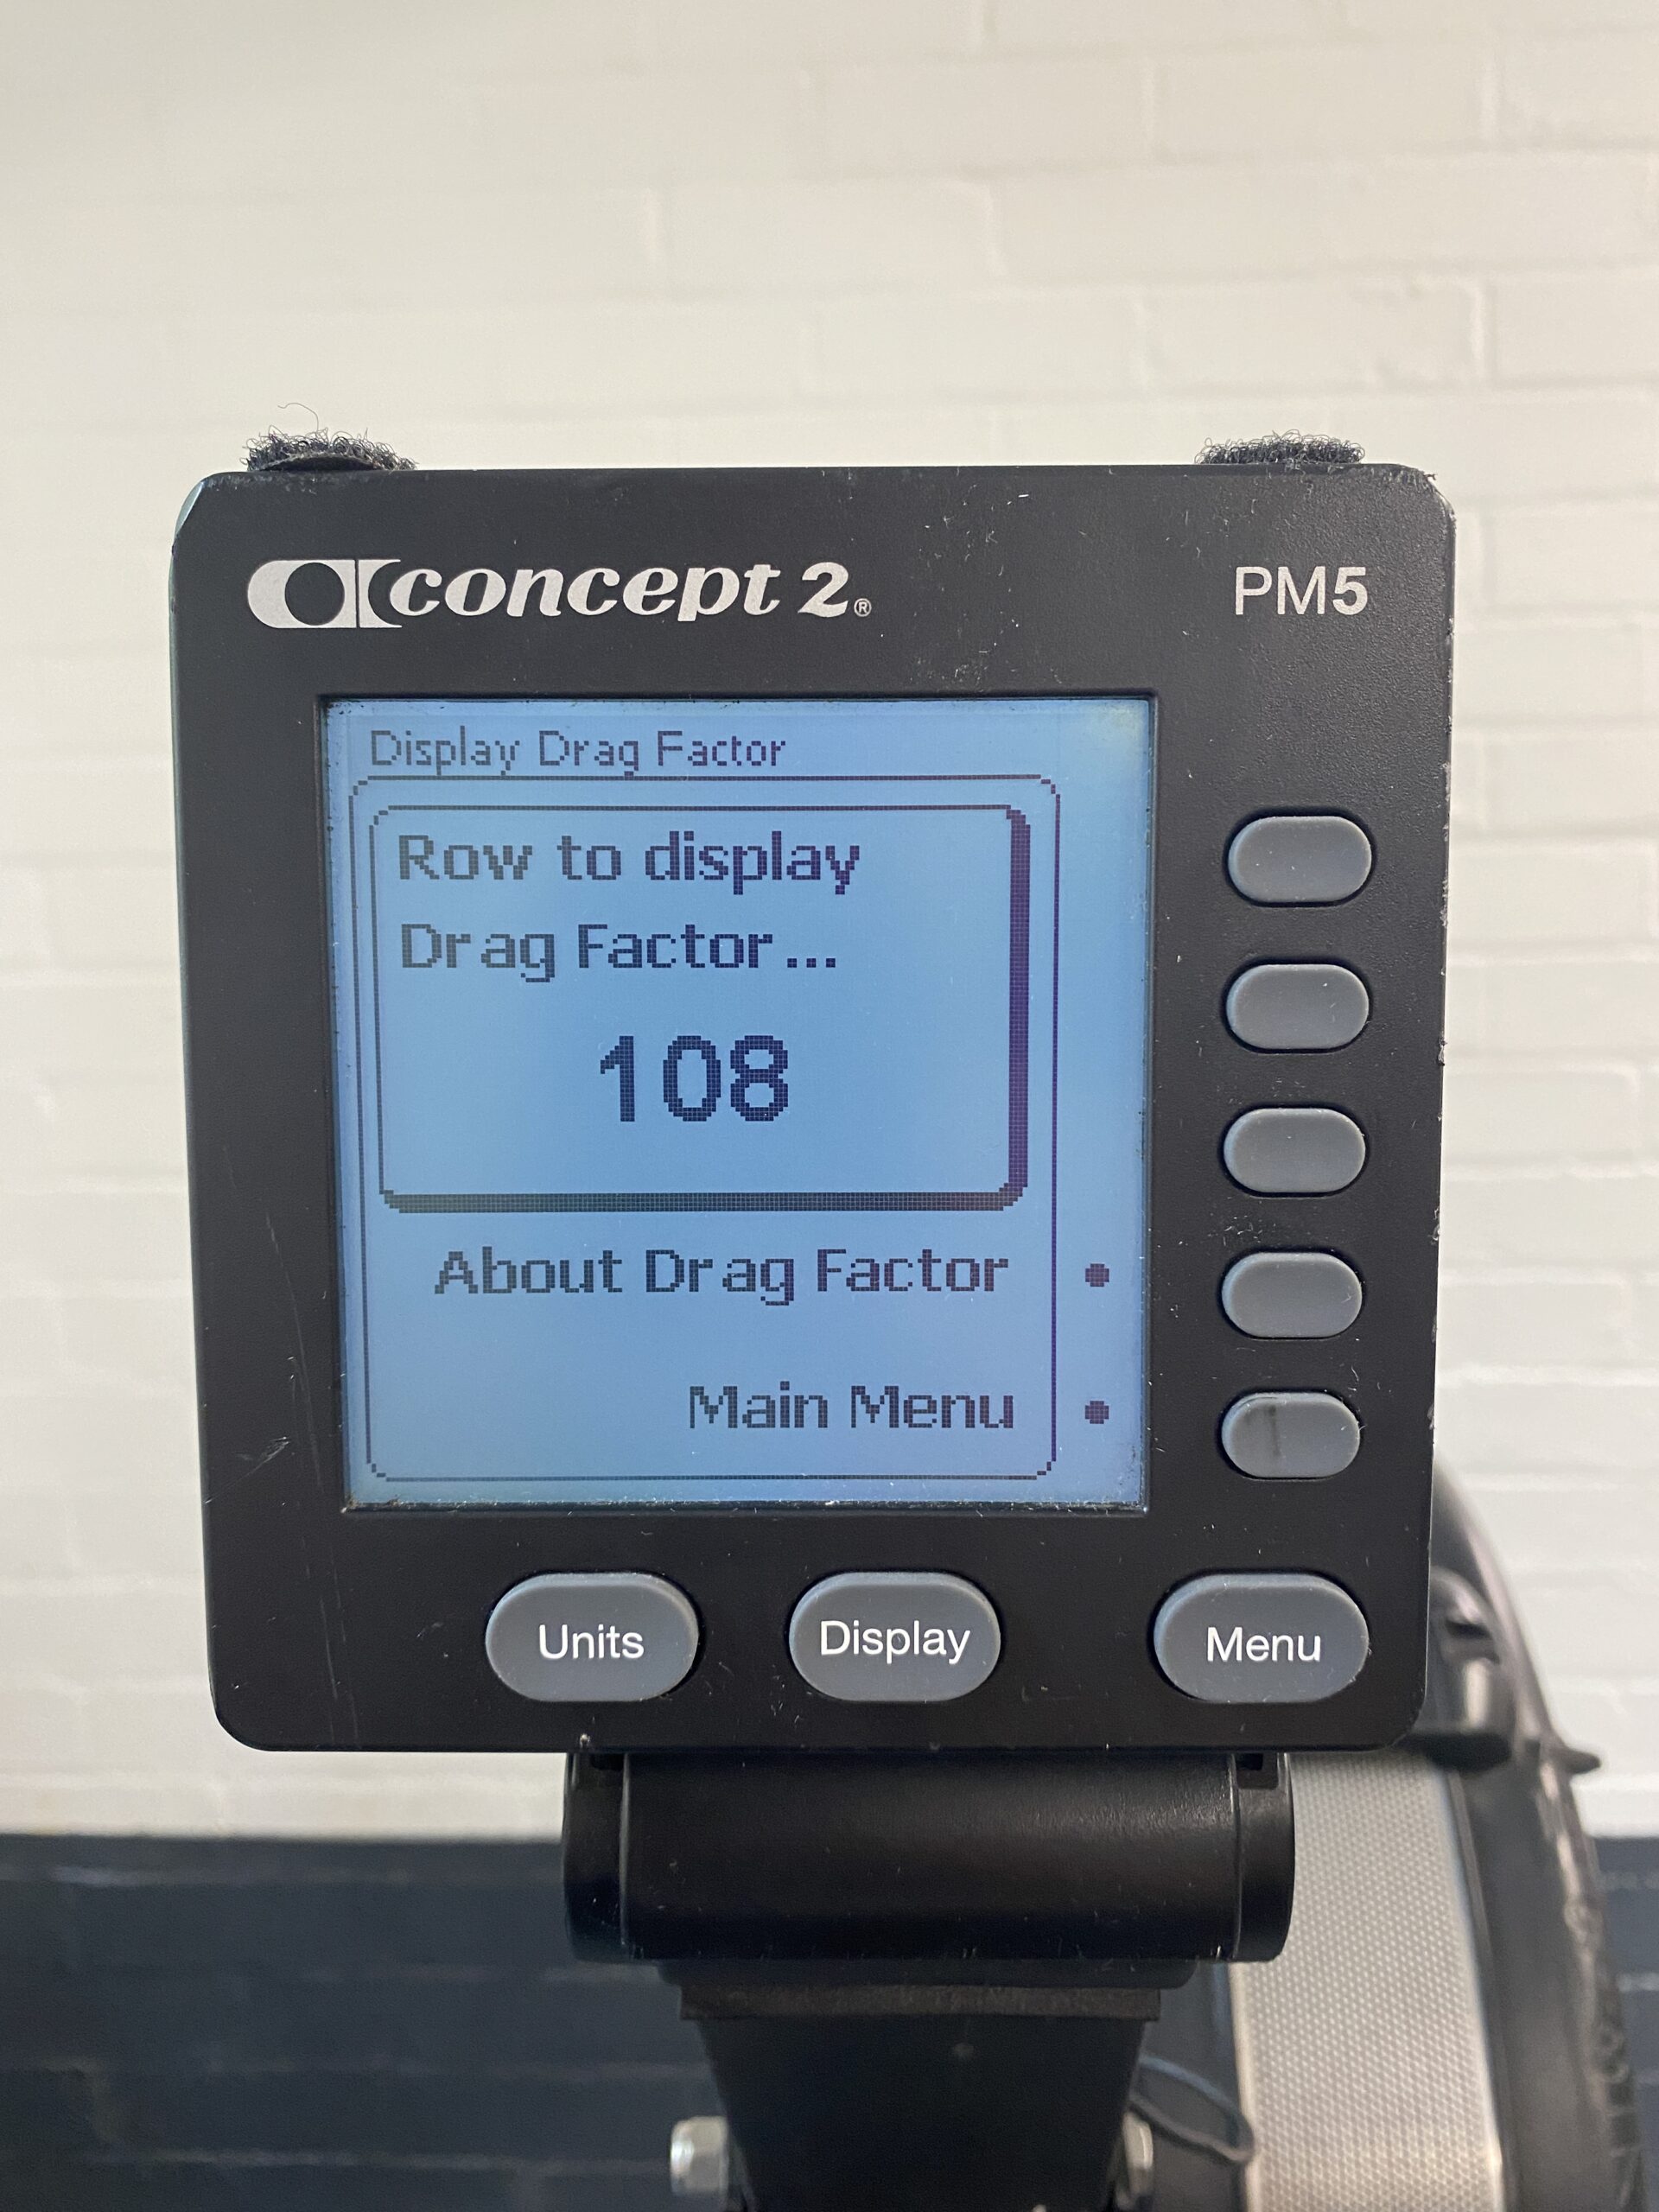
Note on drag factor: Concept2 indoor rowing machines offer the option to set the drag factor, which relates to the rate of deceleration of the flywheel. Taking note of the drag factors from one Concept2 rowing machine to another will allow you to directly compare your results. The below images show you how to set the drag
Resistance created when you row
As mentioned above, the damper lever or dial setting is not the only element of resistance on the rowing machine. The resistance, or the intensity level of your workout, is also based on how hard you work during the drive phase of the rowing stroke. Regardless of where you set the damper lever, resistance dial or drag factor, the harder you drive (push with your legs), the more resistance you will feel.
Ready to row
Once you have set your machine up correctly, why not check out our British Rowing technique video before getting stuck in to one of our training plans.
